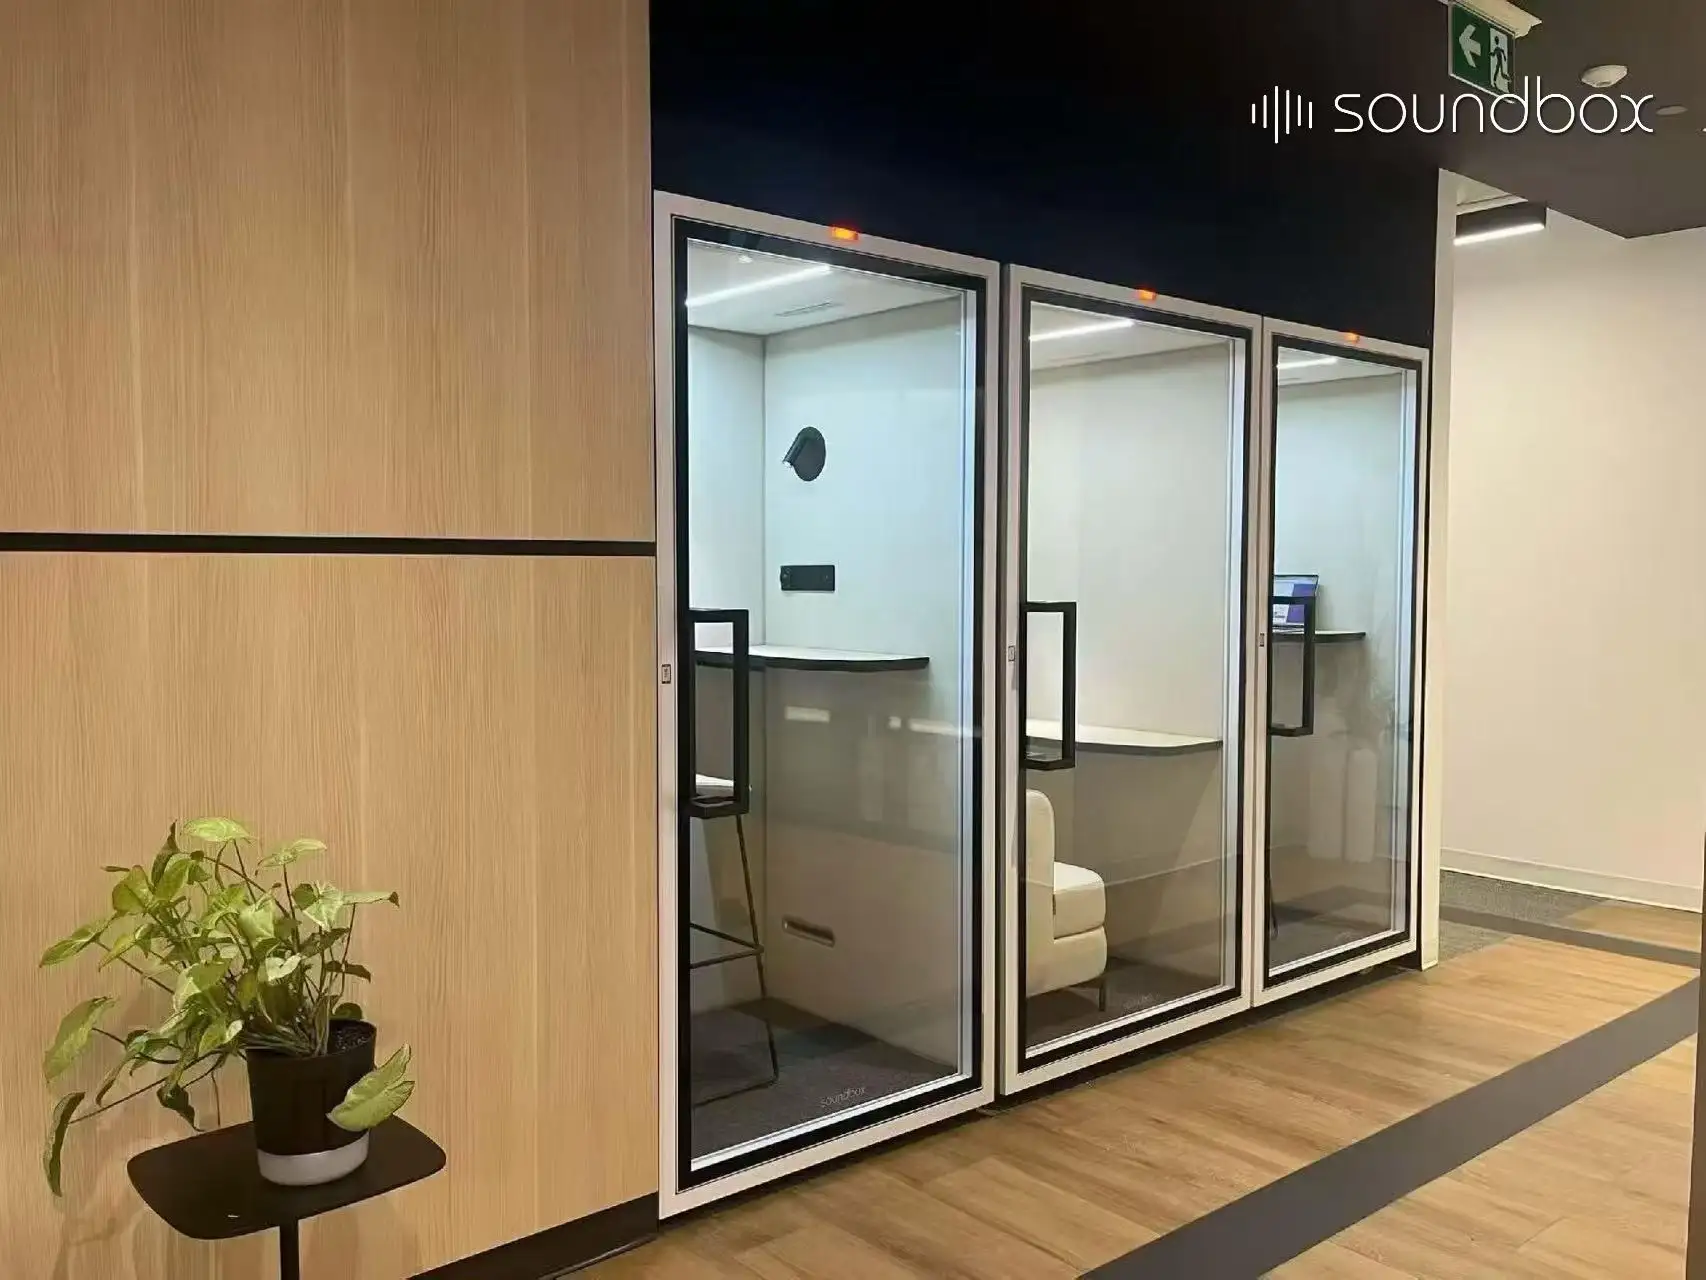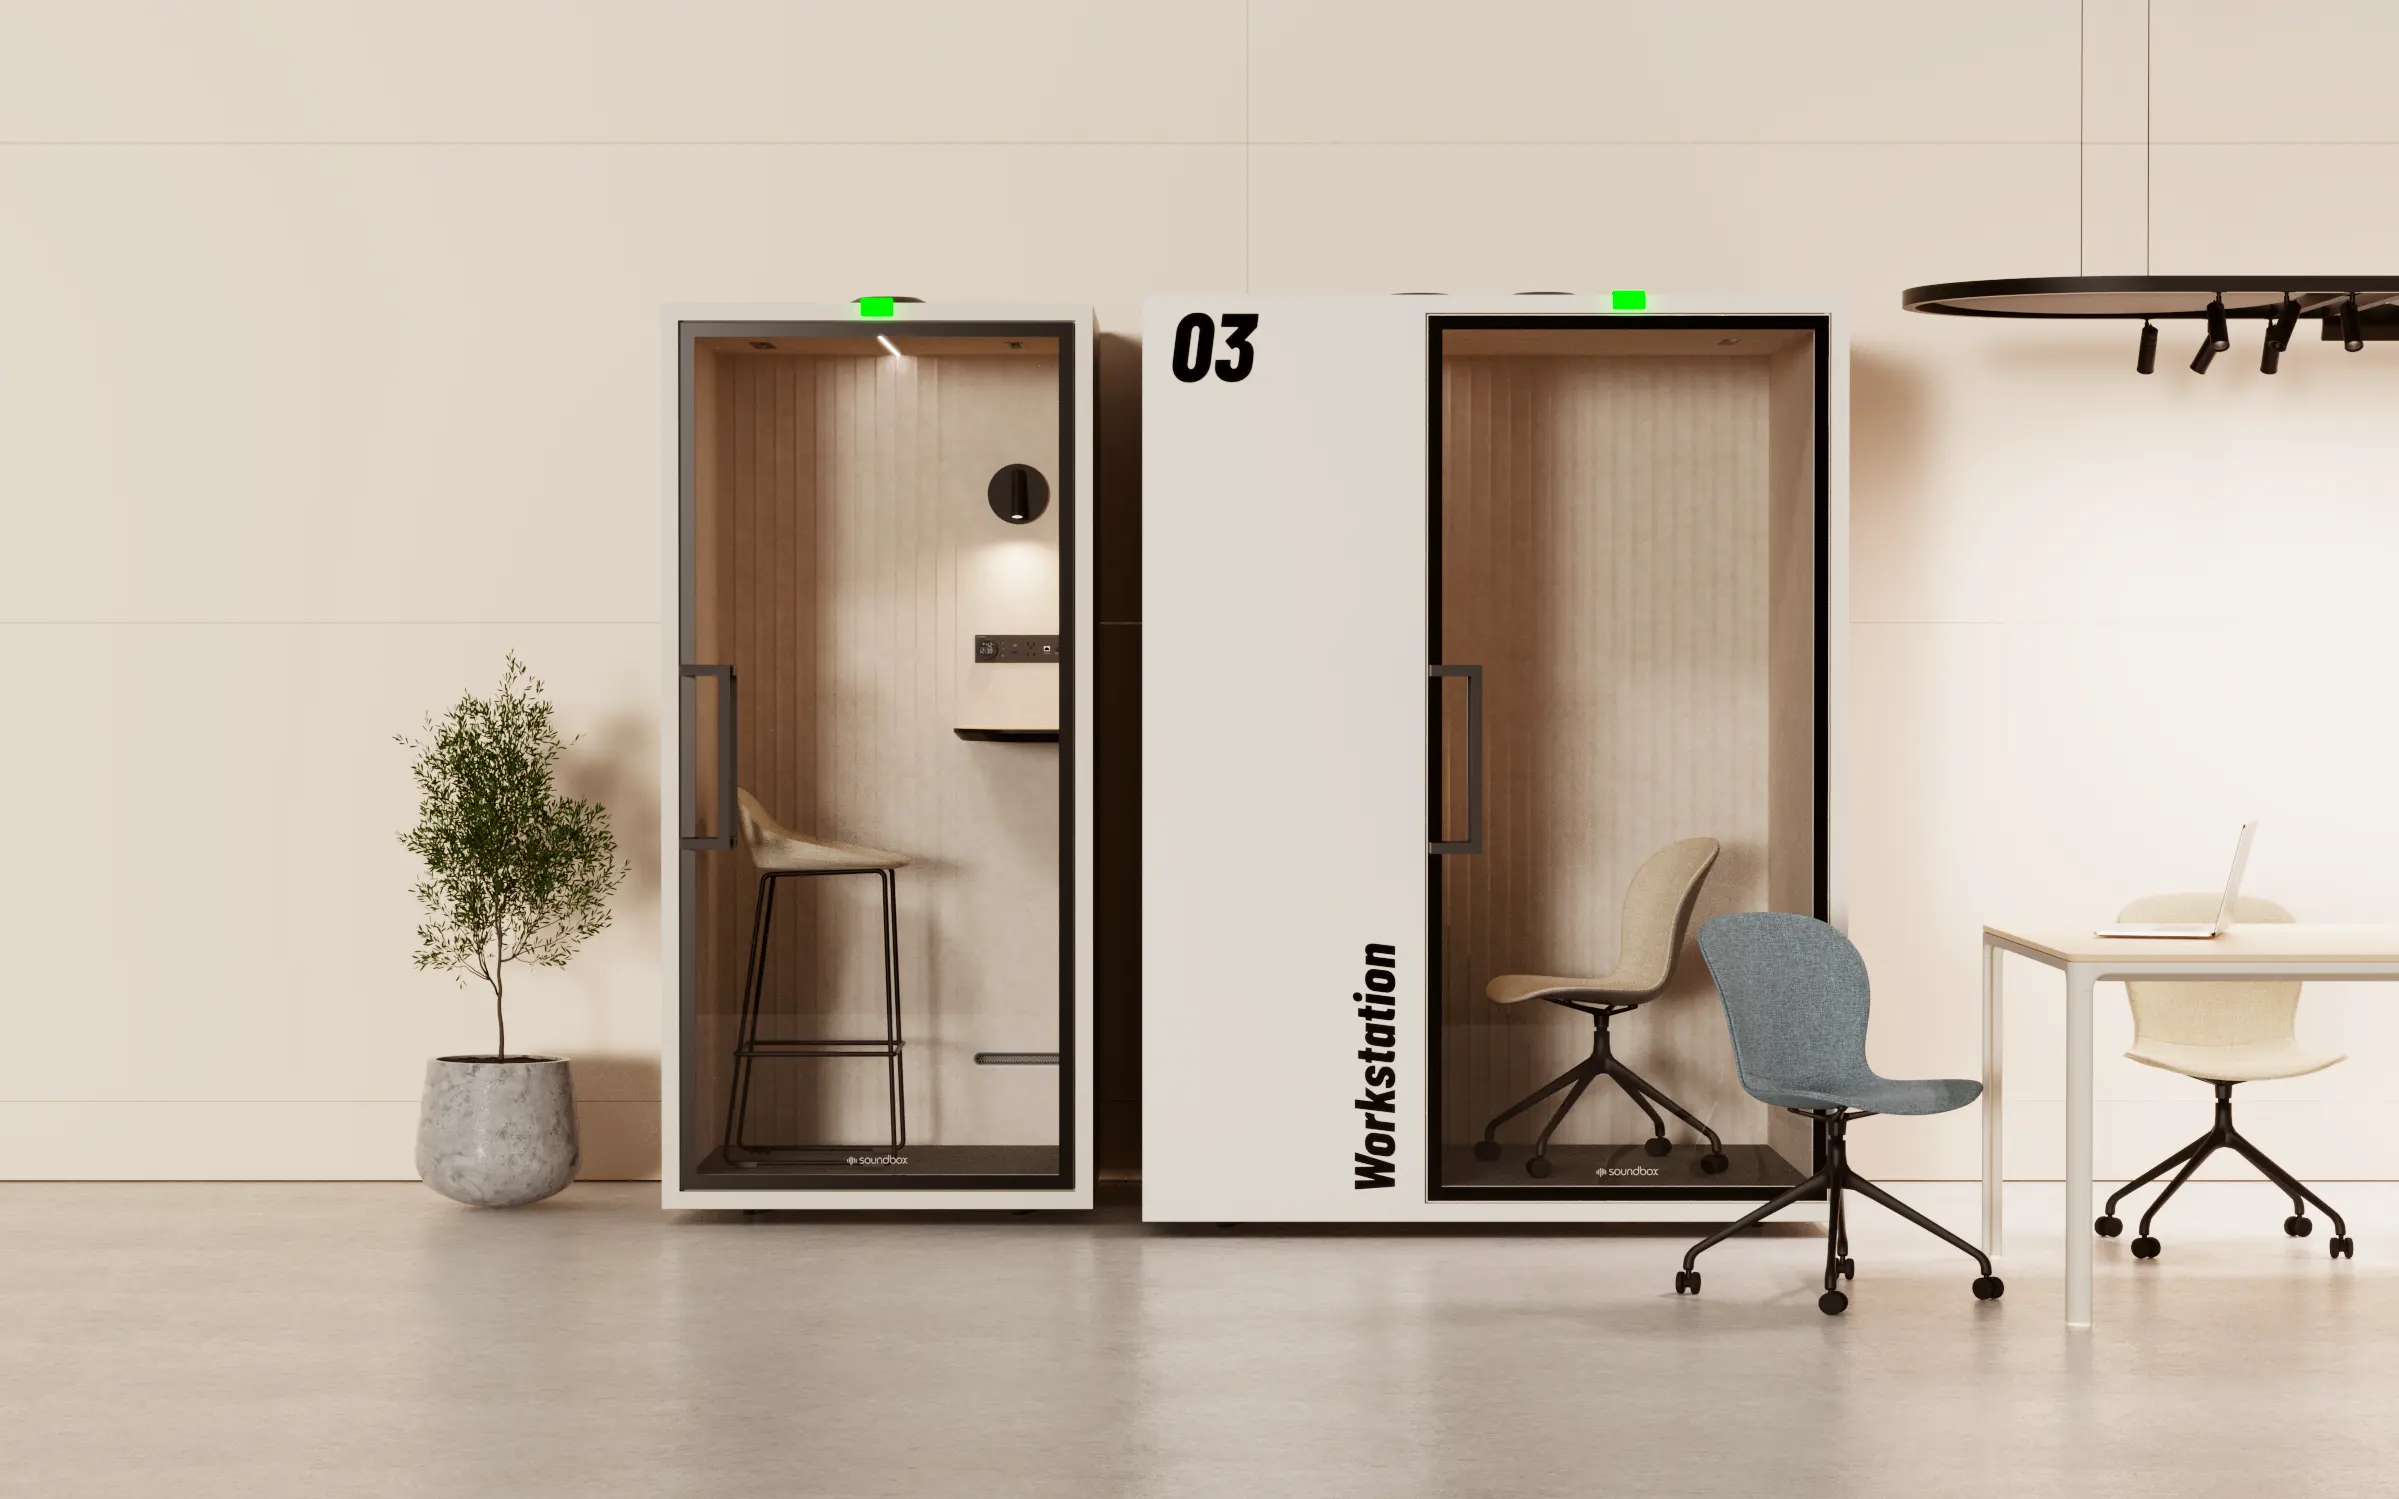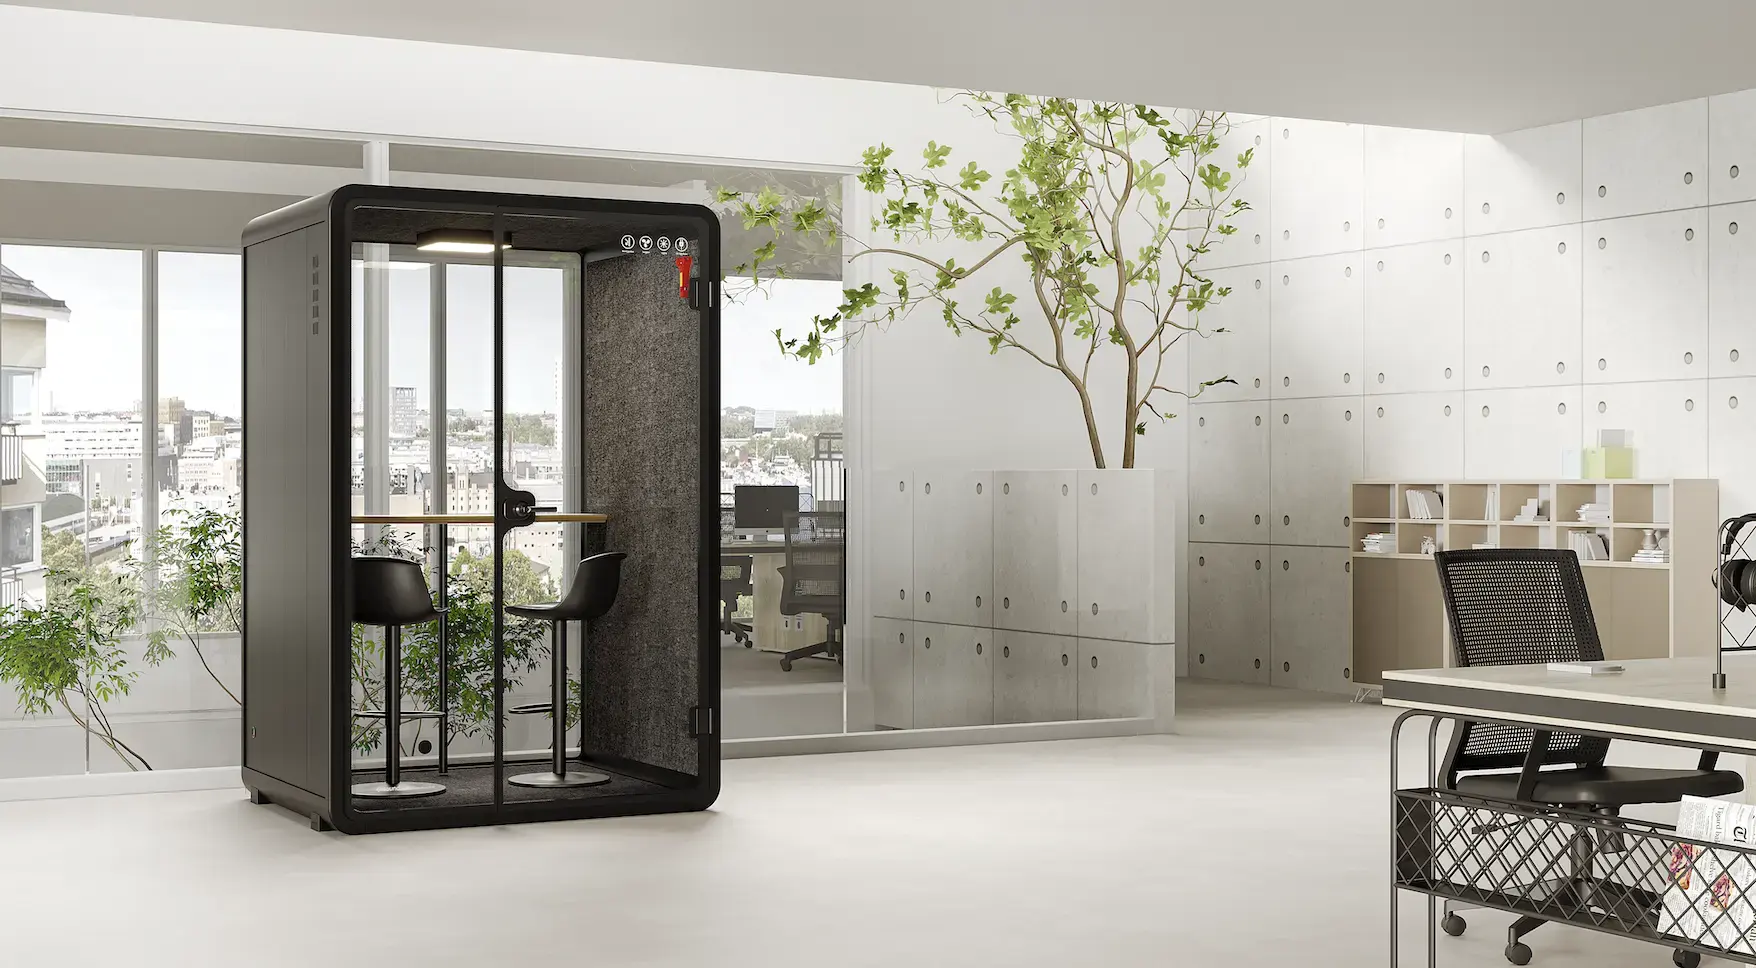
Successful office pod installation starts before delivery. The project team and appointed installation team should confirm the exact model, proposed location, delivery route, site conditions and division of responsibilities before scheduling the work.
Soundbox pods use modular construction, allowing them to be assembled on site and later disassembled for relocation. Component dimensions, weights, electrical requirements and installation procedures vary by configuration, so each project should follow the current drawings and instructions for the pod being installed.
Before ordering
Confirm the intended use, exact model and ordered configuration. This should include the door orientation, furniture package, electrical specification and any selected controls or connected features. Review the current model drawing for the pod’s exterior dimensions, door movement, operating clearances and service access.
Show the proposed position on the floor plan and check its relationship to circulation routes, exits, sprinklers, detectors and nearby work areas. The responsible project team should review the applicable accessibility, fire safety, egress and building requirements for the installation location.
Confirm whether the pod will be assembled by the customer’s team, a local partner or another appointed installation team. Assign responsibility for delivery, unloading, assembly, electrical connection, commissioning and packaging removal, and identify any landlord approvals, permits or building access requirements before placing the order.
Survey the delivery route
Record vehicle and loading restrictions, delivery hours, clear door openings, corridor widths, elevator dimensions and load limits, stairs, level changes and turning space. Compare the narrowest points along the route with the packaged dimensions and weights supplied for the ordered configuration. Door hardware, handrails and ceiling fixtures may further reduce the available clearance.
Confirm elevator reservations, unloading arrangements, temporary storage, floor and wall protection, and the space required to unpack the components. Where stairs or level changes cannot be avoided, establish how the largest and heaviest packages will be handled. Do not assume that a standard doorway or freight elevator will be sufficient without checking the actual measurements.
Prepare the site
Mark the approved position and keep assembly clearance available. Confirm that the floor is suitable and that electrical work will be completed by a qualified electrician where required.
Check that the floor is stable and sufficiently level before assembly. The base affects the alignment of the remaining structure, including the panels, glazing and door. Use the tolerance stated in the installation instructions rather than applying a single limit to every model.
Verify the required input voltage, outlet type and connection position for the destination market.
Provide a clean, dry area for unpacking and assembly. Protect panels, glazing, seals and electrical components from construction dust, moisture and impact. Components awaiting installation should be stored in the orientation and conditions specified by the manufacturer.
Do not drill panels, alter panel connections or create additional cable openings unless the change has been reviewed and approved.
Assemble and commission
Use the current installation instructions for the ordered configuration. Crew size, equipment and assembly time depend on the pod size and site conditions.
The following sequence provides a planning reference for a Soundbox modular installation. The times are approximate and should be confirmed for the selected model.
| Stage | Work involved | Estimated time |
|---|---|---|
| Delivery | Deliver the flat-pack components to the installation floor | Scheduled |
| Unpack and inspect | Check the six main modules, furniture, accessories and hardware against the packing list | 20 minutes |
| Position the base | Place and level the floor module | 30 minutes |
| Install wall panels | Connect the rear and side wall panels in the specified sequence | 60 minutes |
| Position the ceiling | Lift and connect the ceiling module | 30 minutes |
| Install door and glazing | Fit the door frame, glazing and related hardware | 40 minutes |
| Connect services | Complete the power and ventilation connections as specified | 20 minutes |
| Complete the interior | Install the desk, seating, lighting and accessories | 30 minutes |
| Commission the pod | Check the door, seals, ventilation, lighting, sockets and controls | 20 minutes |
| Total assembly time | Planning estimate for the complete sequence | Approximately 4 hours |
For the six-module configuration described in Soundbox installation materials, begin by positioning and leveling the floor base. Assemble the wall panels, ceiling, door frame and glazing in the sequence specified for the ordered model, using the supplied connection hardware. Correct positioning of the base helps the remaining components align properly.
After assembling the enclosure, install the furniture and accessories, connect the required power and integrated systems, and commission the pod. Check the door operation, ventilation, lighting, outlets and controls before handover. Follow the current instructions for the ordered configuration, as individual steps may vary by model.
Handover
Provide operating, cleaning and maintenance instructions, warranty terms and support contacts. Explain the occupancy limits, ventilation controls and any modifications that require supplier approval.
The handover record should include:
- Approved drawings and installed configuration
- Commissioning results and photographs
- Electrical and control information
- Cleaning and maintenance requirements
- Warranty scope and exclusions
- Outstanding defects and completion dates
Explain which ventilation openings and maintenance access points must remain clear. Users and facilities teams should also understand that drilling panels, replacing seals or adding unapproved cable penetrations can affect the pod’s operation and documented performance.
Retain these records with the workplace documentation so they remain available for maintenance or future relocation.
Relocation
Soundbox pods use modular construction, which can support future relocation when workplace requirements change. Before moving a pod, inspect and photograph its condition, obtain the current disassembly instructions, and survey both the transport route and the proposed destination.
Disassemble the pod according to the instructions for the applicable model. Label components and fasteners where necessary, keep an inventory, and use the original packaging or equivalent protection during handling and transport. Inspect the glazing, connection hardware and electrical components before reassembly, replacing any damaged parts as required.
At the new location, repeat the relevant access, floor and electrical checks before reassembly. Level and recommission the pod, then test the door, ventilation, lighting, power and controls. Confirm any warranty or documentation requirements with Soundbox before the move. To plan an installation or relocation, contact our team with the installation country, model, quantity, floor plan, delivery route and required schedule.