
Office Pod Installation Guide: Setup, Assembly & Relocation (2026)
Key Highlights
- Modular office pods install in hours, not weeks. SoundBox freestanding office pods use a 6-component flat-pack system that two people can fully assemble in approximately 4 hours — no contractors, no construction permits, and no specialized tools required.
- Site preparation is straightforward but critical. Correct power access, floor levelness, and doorway clearance determine whether your installation goes smoothly or hits preventable delays.
- Office pods are genuinely relocatable. Because acoustic seals are factory-built into panel joints (not field-applied caulk), disassembly and reassembly do not degrade sound isolation. Move your pod when your layout changes — no acoustic compromise.
Why Installation Matters
When facility managers evaluate office pods, most of the focus goes to acoustic performance, price, and design. Installation is treated as an afterthought — until it becomes the most expensive part of the project.
Poor installation planning leads to three problems that directly affect your total cost of ownership:
- Unexpected contractor costs. Some pod brands require professional installers, specialized tools, or even minor construction work. What looked like a $10,000 pod becomes a $13,000 project after labor and materials.
- Business disruption. Pods that require days of on-site assembly — or worse, construction noise — interfere with normal office operations. Every day of installation is a day your team cannot use the space.
- Inflexibility. If your pod is difficult to disassemble, it cannot move when your office layout changes. You are locked into a fixed configuration in a space that may need to adapt.
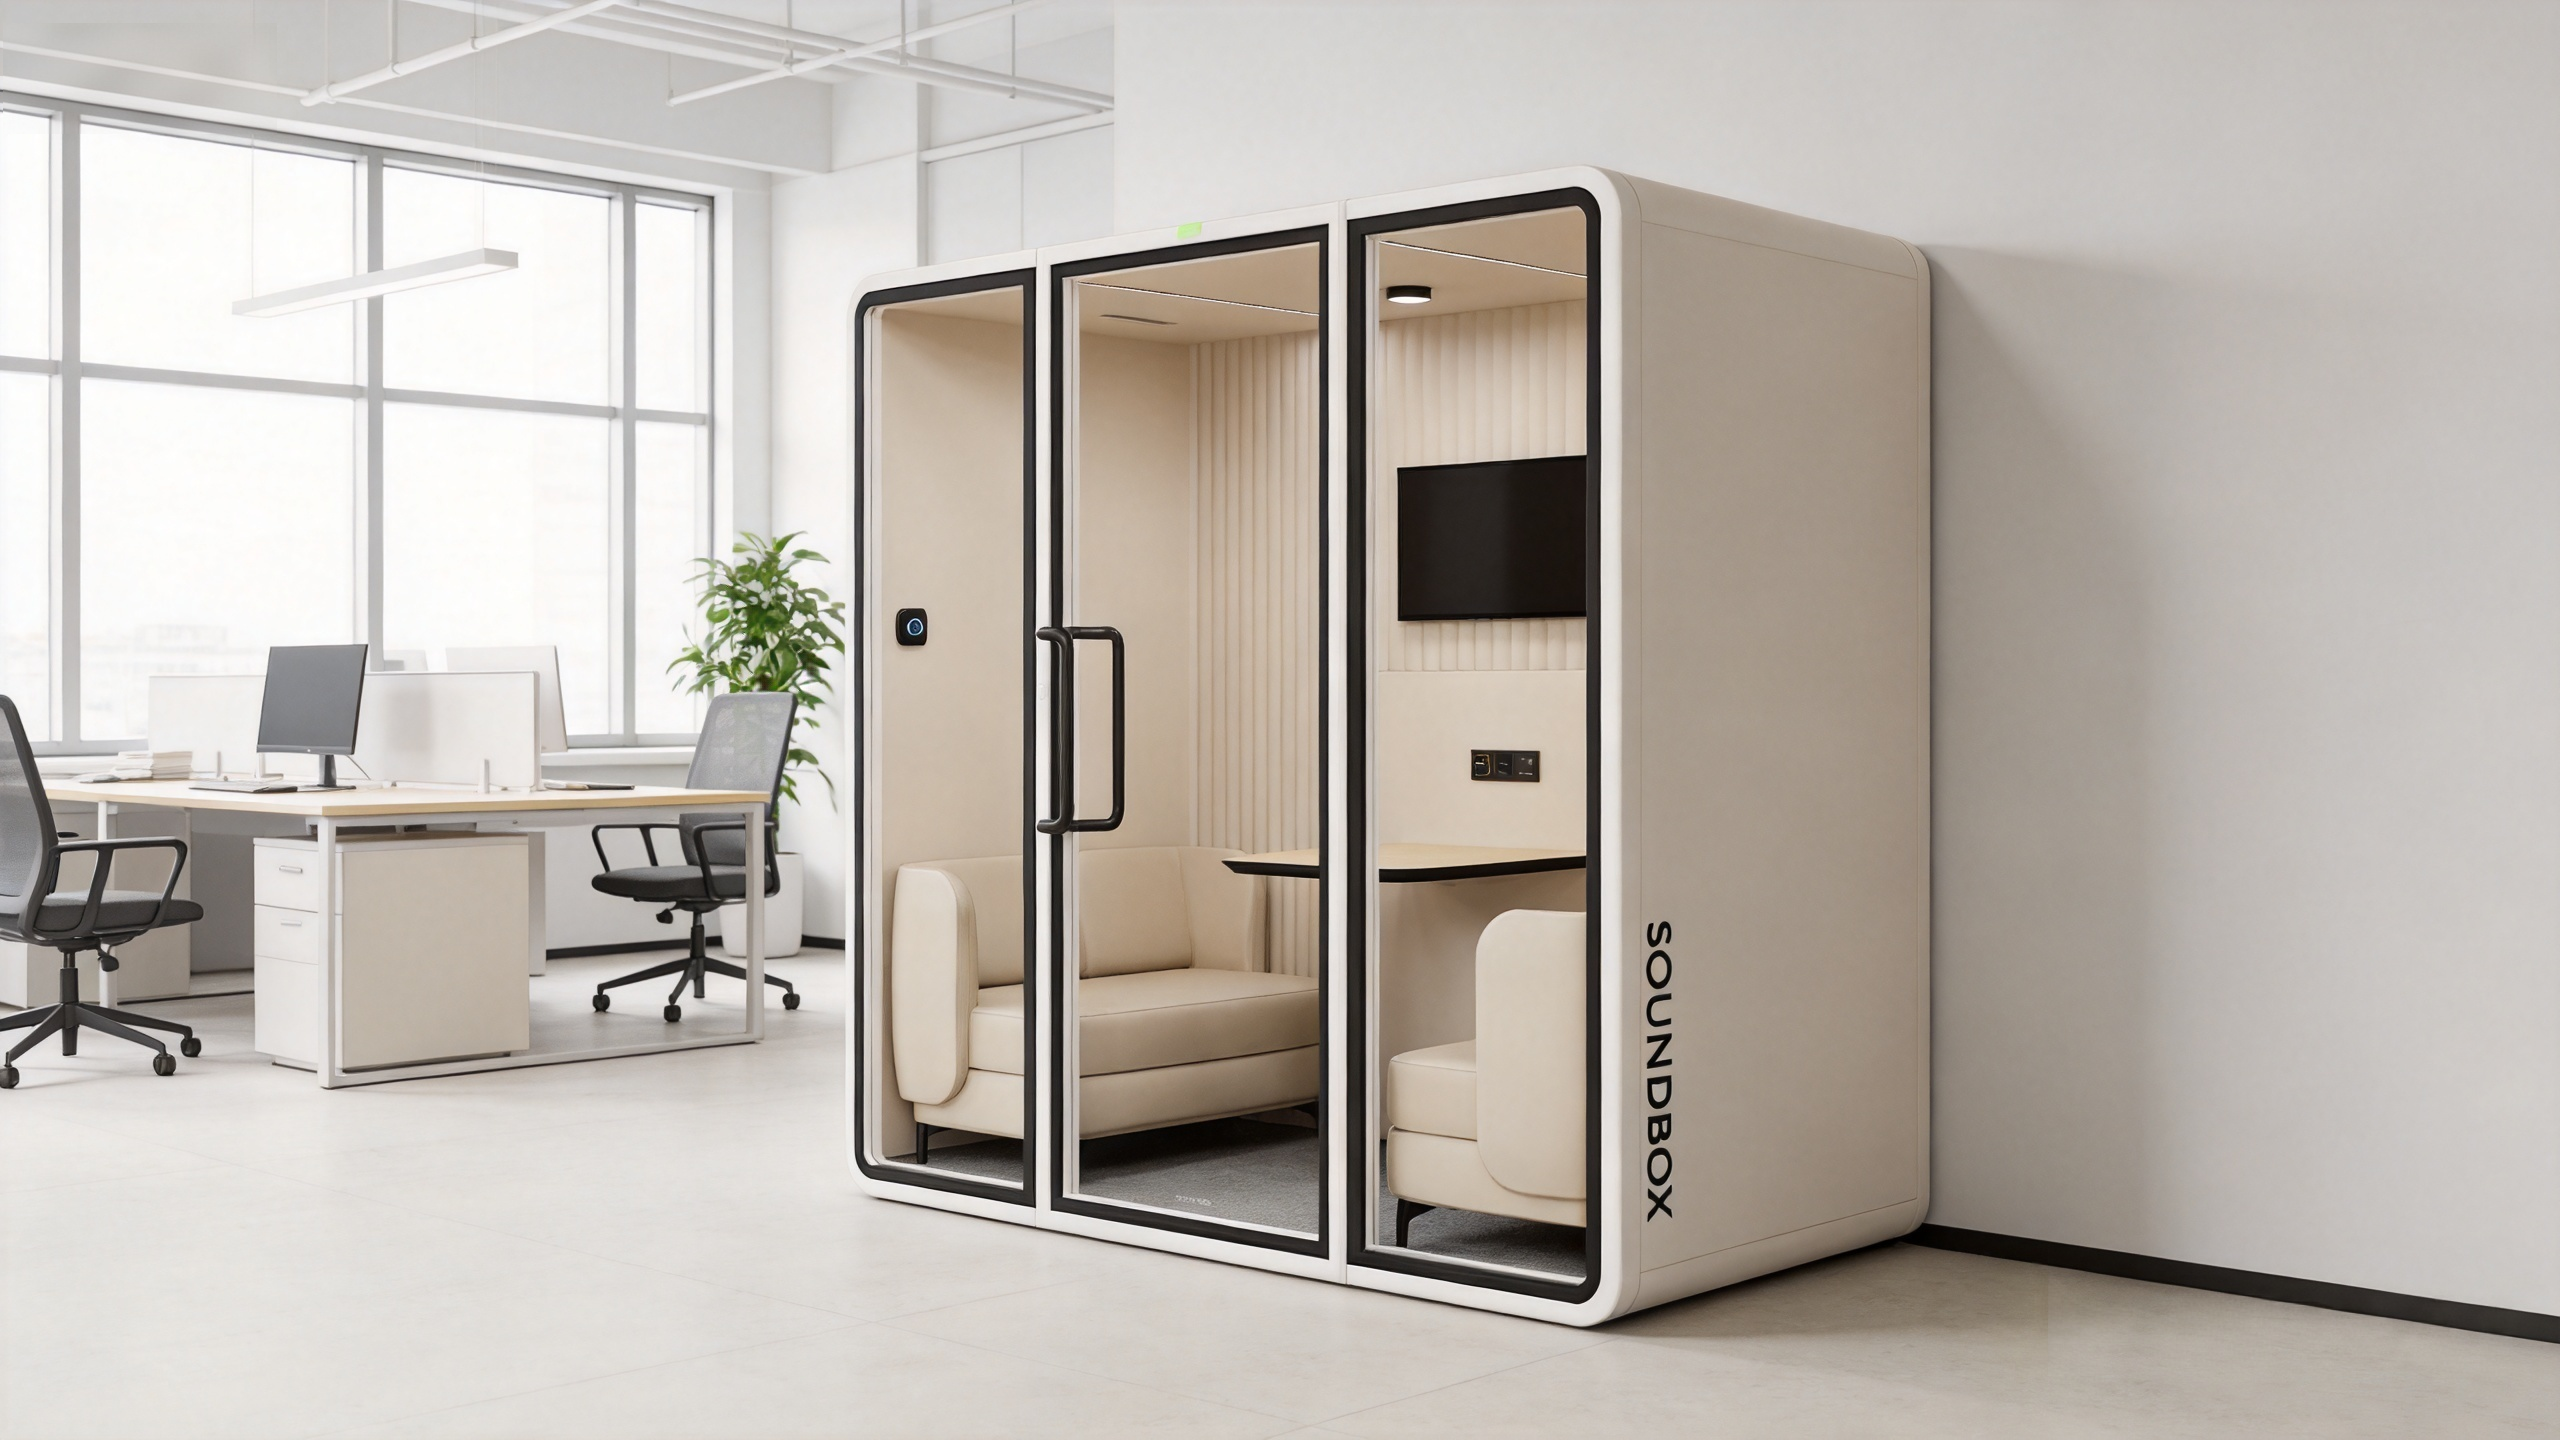
A modular office pod designed for DIY assembly solves all three problems. SoundBox pods arrive flat-packed, assemble with basic tools in a single afternoon, and can be disassembled and relocated without any loss of acoustic performance.
Installation Types Compared
Not all office pods install the same way. Here is how the three main approaches compare:
| Factor | Modular Flat-Pack | Pre-Assembled (Delivery) | Built-In / Custom |
|---|---|---|---|
| Assembly time | 3-5 hours | Minimal (position only) | Days to weeks |
| People required | 2 | 2-4 (heavy lifting) | Contractors |
| Specialized tools | None | Forklift / dolly | Full construction tools |
| Construction permits | Not required | Not required | Often required |
| Doorway clearance needed | Standard door (0.8 m) | Large entry or freight elevator | N/A (built on-site) |
| Relocatable | Yes — full disassembly | Difficult — heavy single unit | No |
| Acoustic seal integrity after move | Maintained (factory joints) | Maintained (no disassembly) | Destroyed (requires rebuild) |
| Typical cost premium for install | $0 (DIY) | $500-$2,000 (delivery surcharge) | $3,000-$10,000+ (labor + materials) |
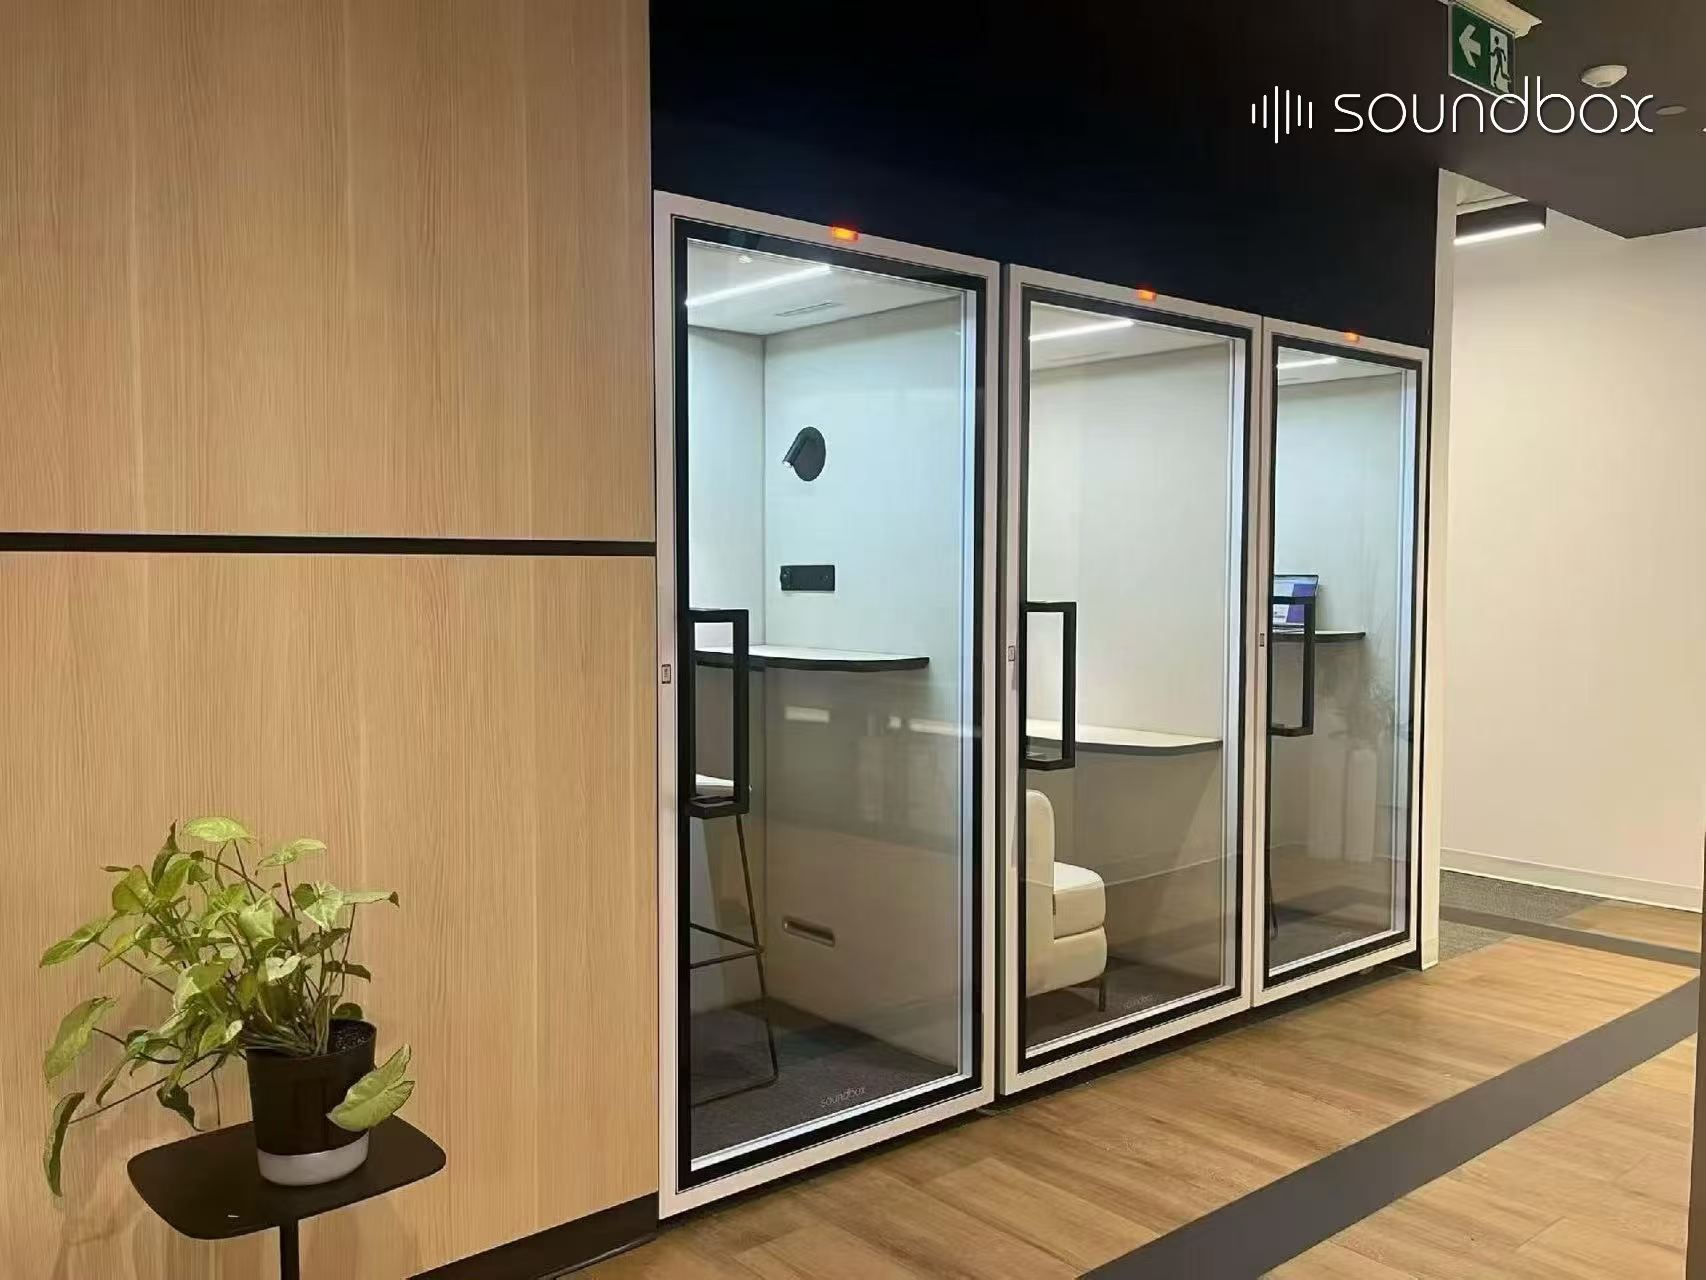
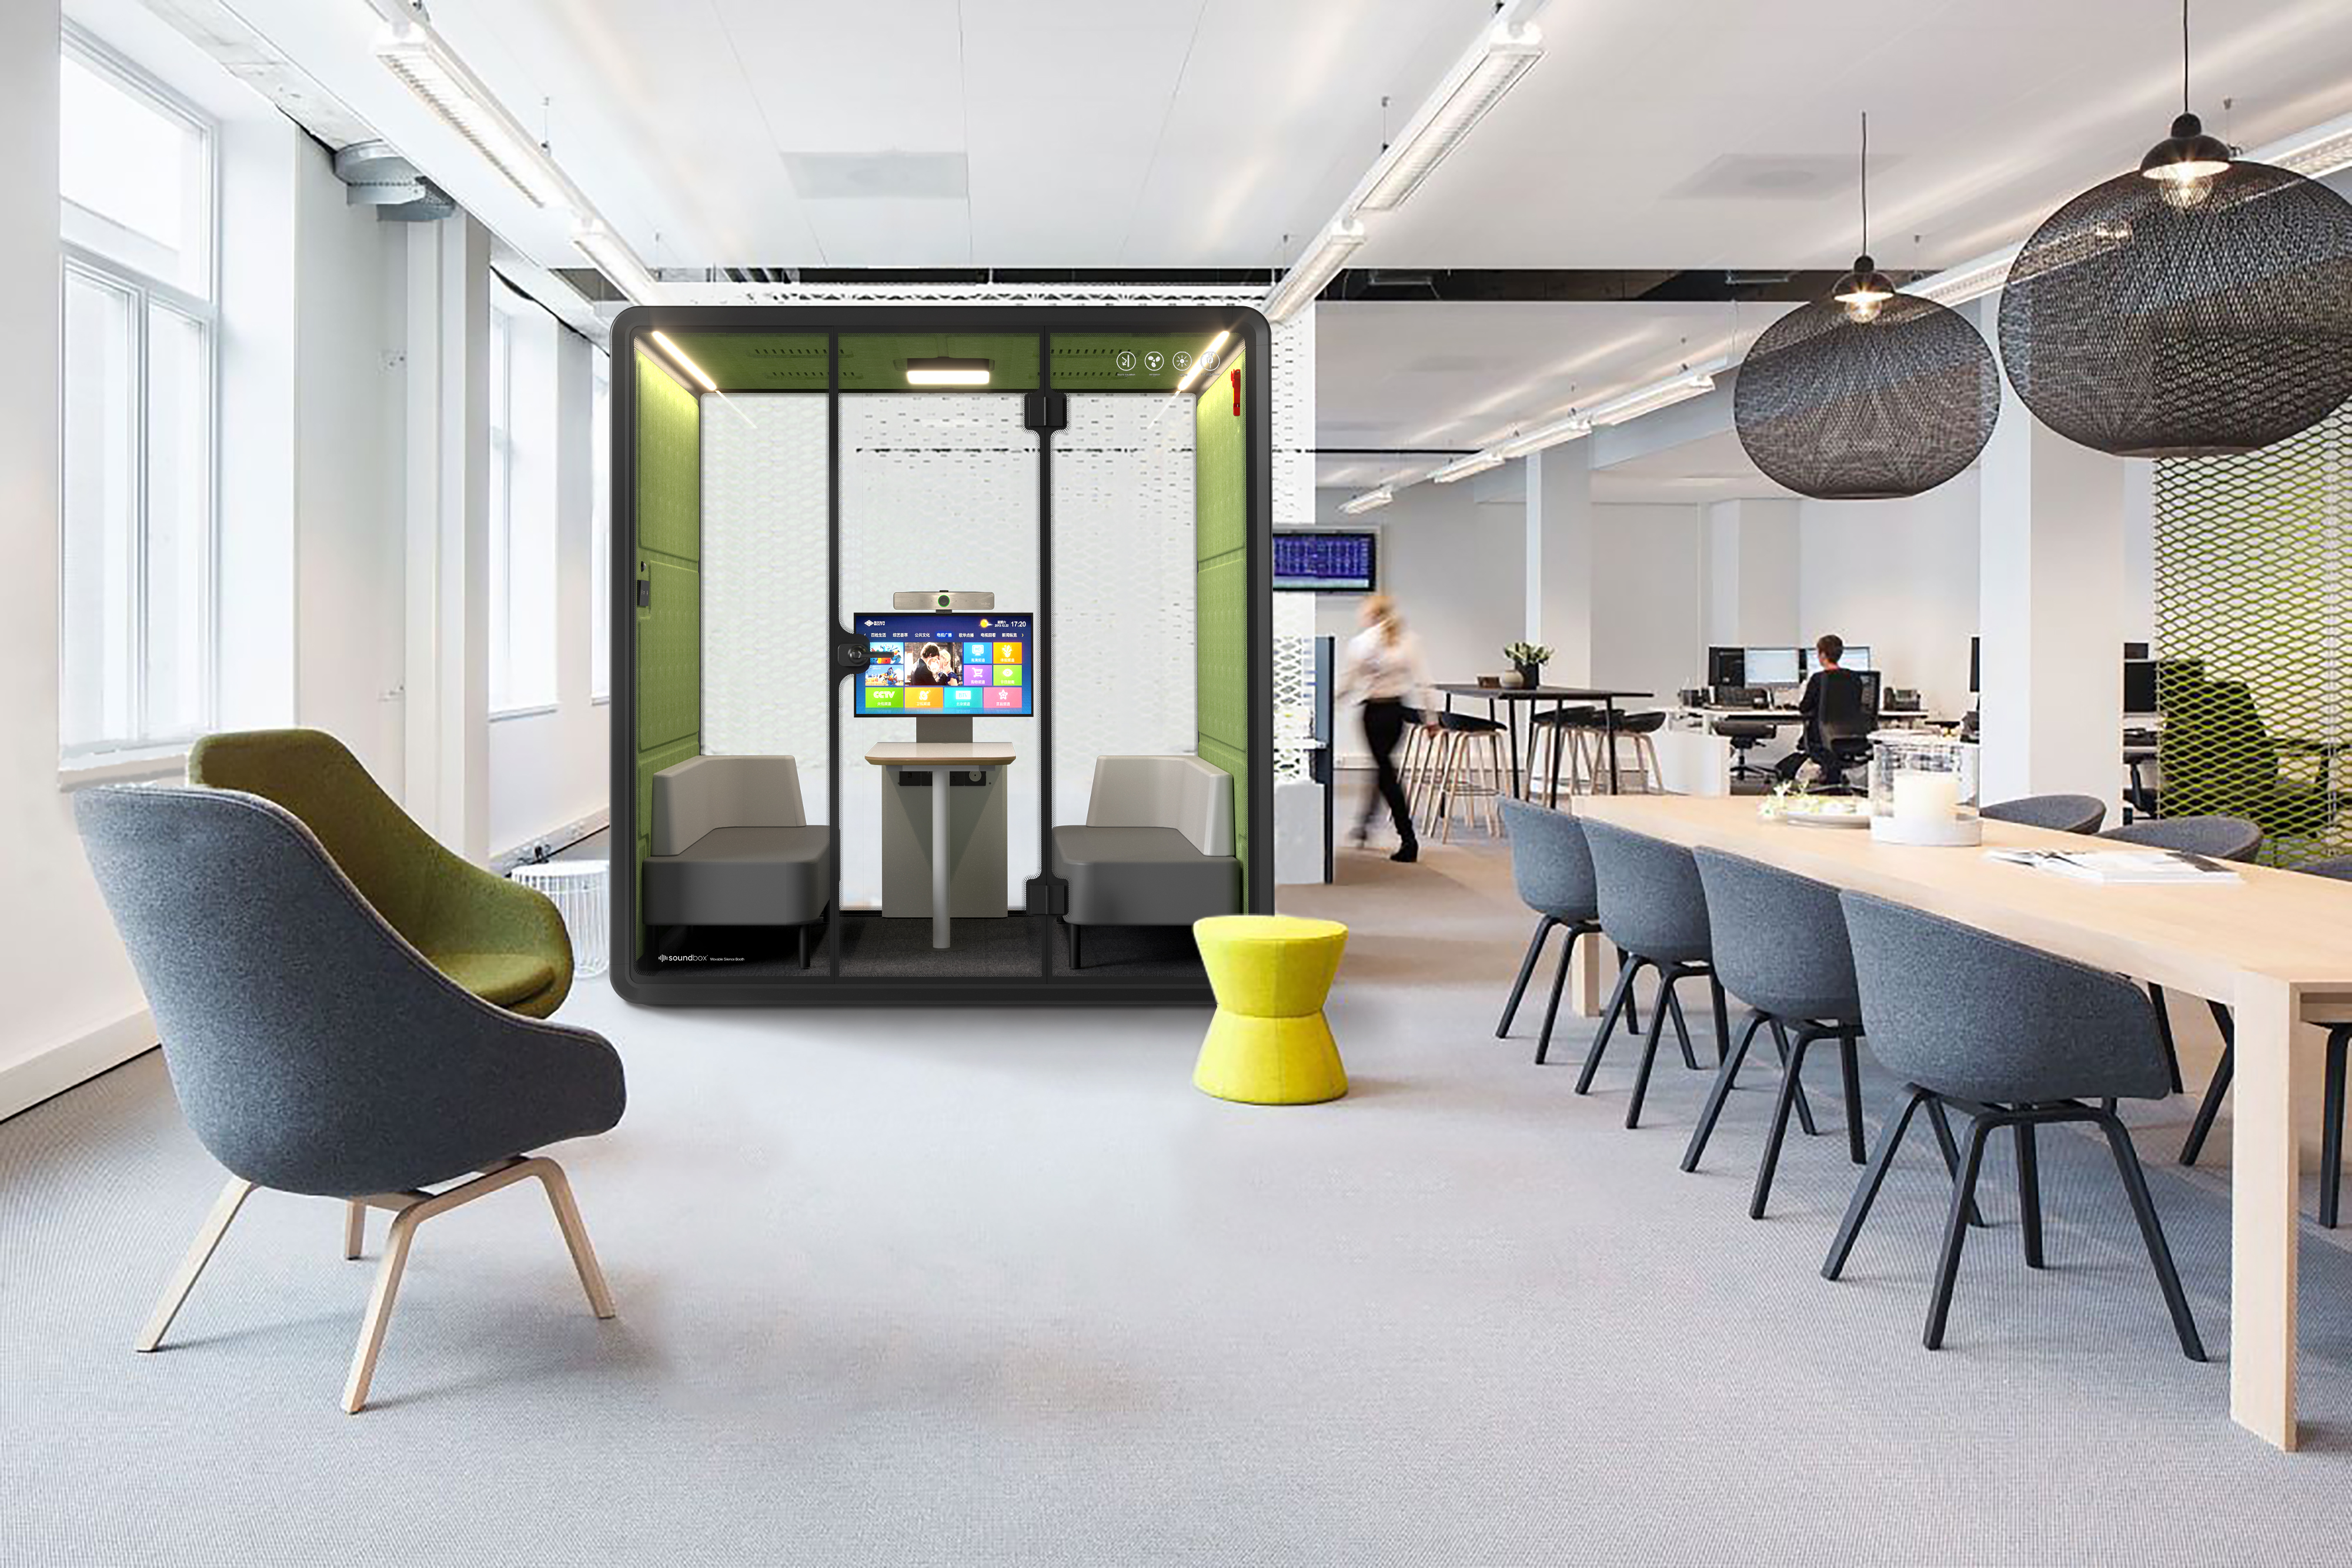
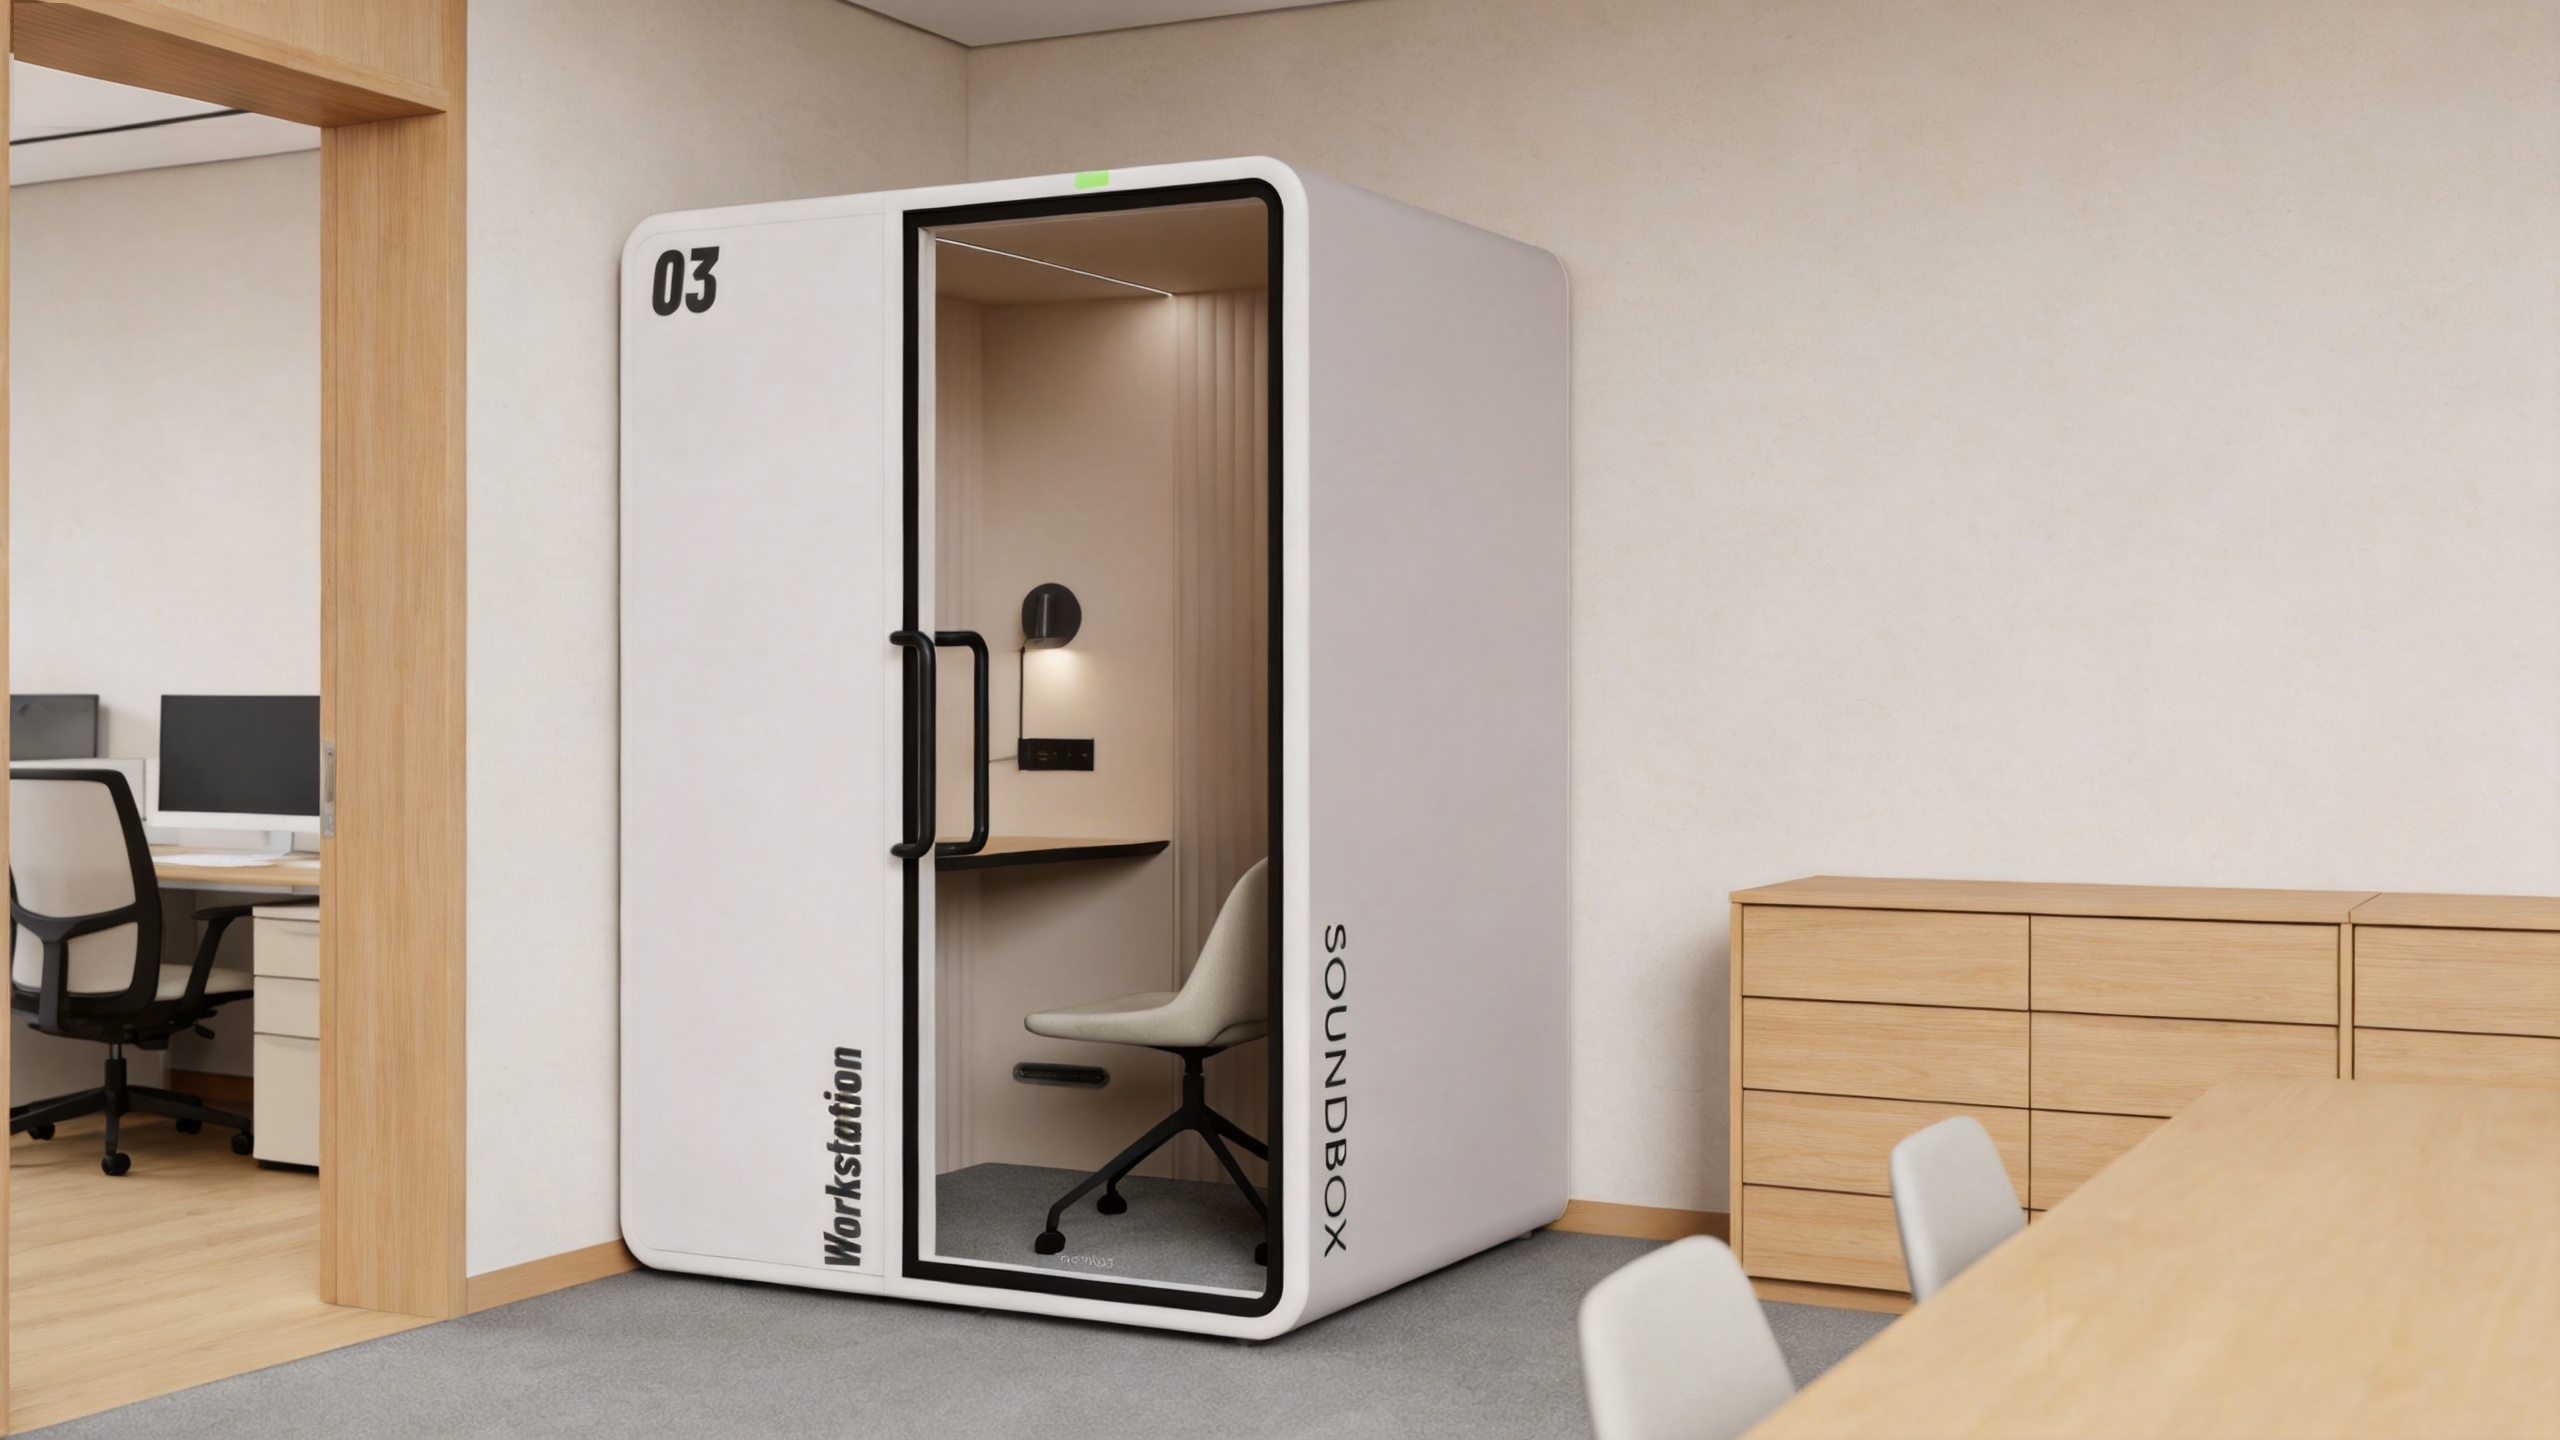
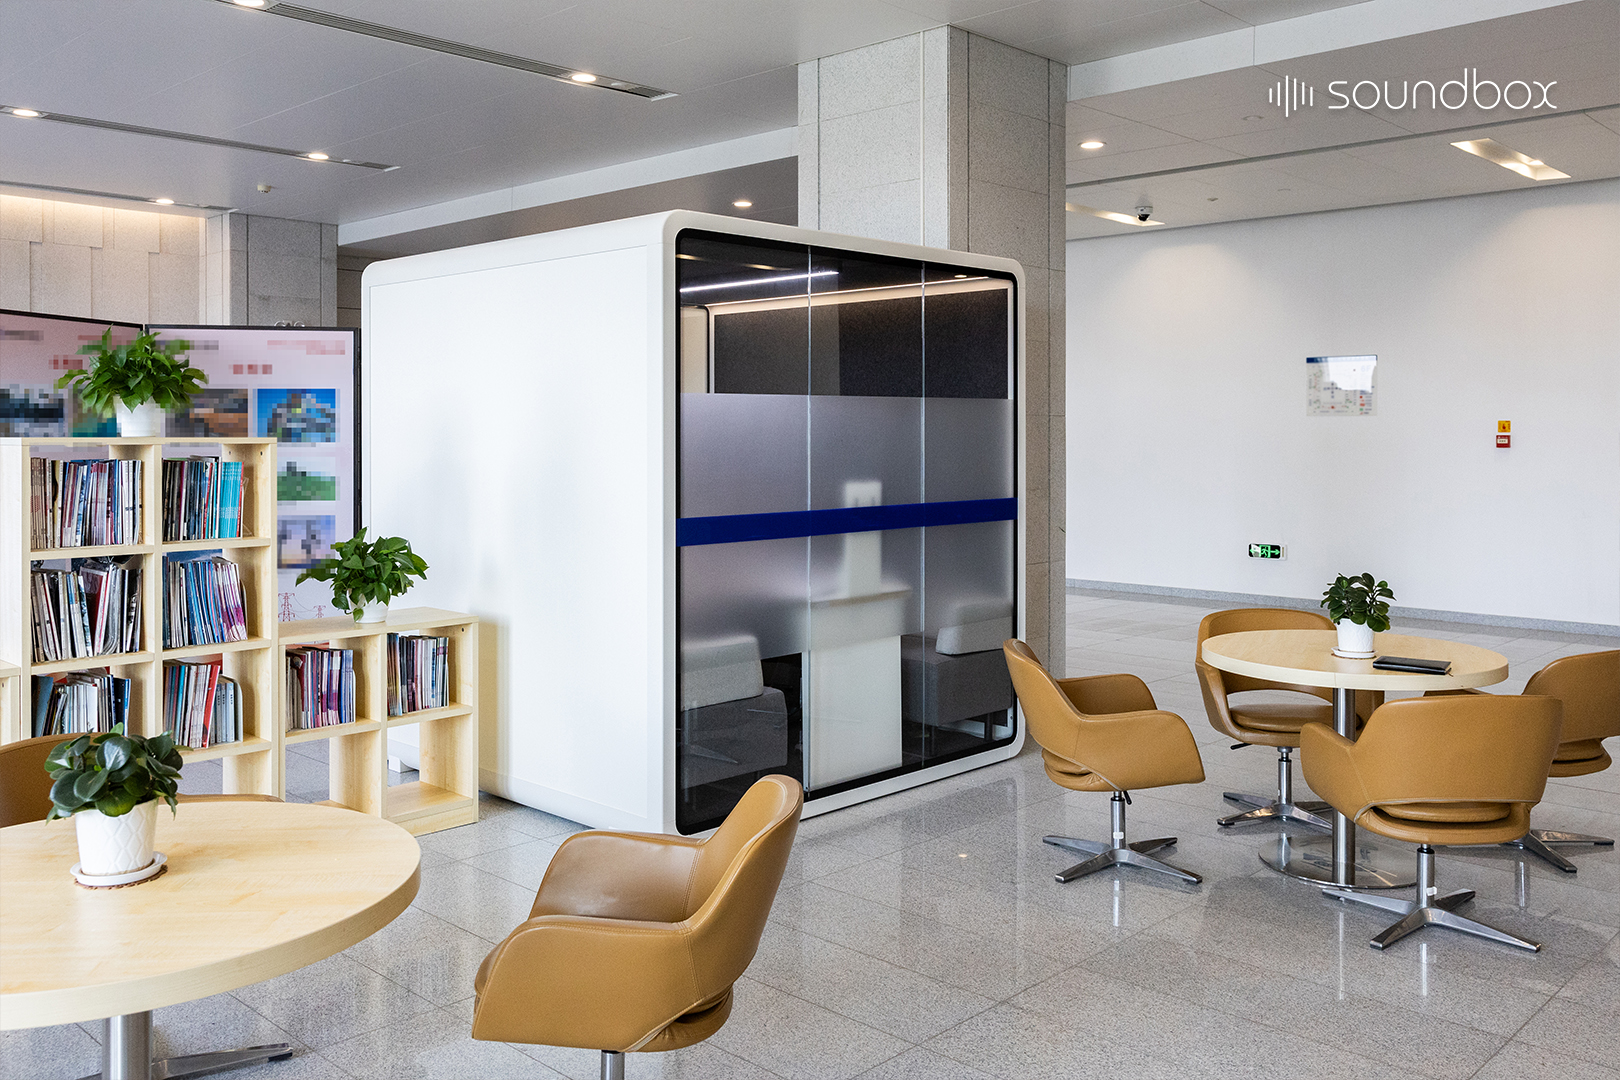
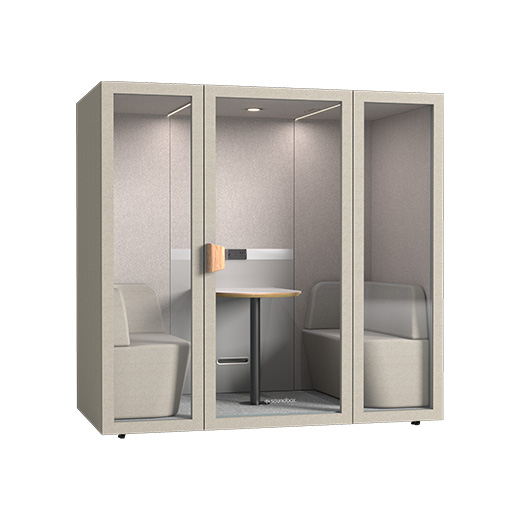
SoundBox uses the modular flat-pack approach. Every pod ships as six pre-finished components that connect using an integrated interlocking system. Acoustic seals are embedded at the factory — no on-site caulking, taping, or sealing required.
SoundBox Modular Assembly Process (Overview)
The full SoundBox office pod setup follows this sequence:
| Step | Description | Time |
|---|---|---|
| 1. Delivery | Flat-pack components delivered to your floor | Scheduled |
| 2. Unpack & inspect | Verify all 6 modules and hardware pack | 20 min |
| 3. Base frame assembly | Position floor module, level if needed | 30 min |
| 4. Wall panel installation | Interlock side and rear wall panels | 60 min |
| 5. Ceiling module placement | Lower ceiling panel onto wall connections | 30 min |
| 6. Door & glass installation | Mount door frame, glass panel, and hardware | 40 min |
| 7. Electrical & ventilation connect | Plug in power, connect ventilation unit | 20 min |
| 8. Interior finishing | Install desk, seating, lighting, accessories | 30 min |
| 9. Test & verify | Check acoustics, ventilation, lighting, door seal | 20 min |
| Total | ~4 hours |
Two people. Basic hand tools (allen key, screwdriver — included). No drilling into walls, floors, or ceilings.
Site Preparation Checklist
Before your pod arrives, walk through this checklist to confirm your space is ready:
Power Requirements
- [ ] Dedicated outlet within 1.5 meters of the pod’s planned position
- [ ] Grounded 110V / 220V supply (model-dependent; confirm with spec sheet)
- [ ] Circuit capacity: minimum 10A dedicated circuit recommended
Space & Clearance
- [ ] Footprint: add 10 cm clearance on each side for ventilation airflow
- [ ] Ceiling height: minimum 2.4 m (verify against your specific model height + 5 cm margin)
- [ ] Door swing area: 0.8 m clearance in front of the pod door
Floor Requirements
- [ ] Level surface: maximum 3 mm variance across the pod footprint
- [ ] Load capacity: standard commercial flooring is sufficient (largest SoundBox model weighs under 400 kg)
- [ ] Floor type: works on raised floors, concrete, hardwood, and low-pile carpet. Avoid thick carpet padding that prevents leveling.
Access Path
- [ ] Doorway width: minimum 0.8 m clear opening along the delivery path
- [ ] Elevator size: if applicable, confirm the largest flat-pack panel fits (SoundBox panels are designed to fit standard freight elevators)
- [ ] Corridor clearance: minimum 0.9 m wide along the route from building entry to installation point
Environment
- [ ] Temperature range: 10°C - 35°C for assembly
- [ ] No active construction dust in the area during assembly (can contaminate acoustic seals)
Assembly Video Guide: The 6-Module Process in Detail
While SoundBox provides an assembly video with every shipment, here is a detailed walkthrough of each stage:
Module 1: Floor Base
Start by positioning the floor module in your chosen location. The floor base includes pre-installed leveling feet — adjust these if your floor has minor unevenness. The floor module also contains the cable entry point for power connection.
Tip: Use a spirit level to confirm the base is flat before proceeding. A level base ensures all subsequent wall panels align correctly.
Module 2 & 3: Rear and Side Wall Panels
The wall panels interlock with the floor base using a tongue-and-groove system. Each panel is pre-finished on both sides with acoustic insulation sandwiched between the outer shells.
Key detail: Acoustic seals are factory-embedded into the panel edges. When two panels connect, the seals compress to form an airtight joint. There is no field-applied caulk or adhesive — the acoustic performance is built into the manufacturing process, not the assembly process.
Start with the rear wall, then attach the two side panels. Each panel clicks into position and is secured with the included hardware.
Module 4: Ceiling Panel
The ceiling module is the heaviest single component. With two people, lift and lower it onto the top edges of the wall panels. The ceiling connects to the walls using the same interlocking system — alignment pins guide it into the correct position.
The ceiling module comes pre-loaded with the ventilation unit, LED lighting, and any ceiling-mounted accessories. No separate installation of these components is required.
Module 5: Door Frame and Glass Panel
The door frame mounts to the front edges of the side panels and floor base. The glass panel (tempered safety glass) slots into the frame, and the door is hung on pre-installed hinges.
The door includes a magnetic catch and rubber gasket that creates a full acoustic seal when closed. No adjustment is needed — the seal is factory-calibrated.
Module 6: Interior Components
Install the desk surface, seating, and any accessory mounts. These use standard fasteners and pre-drilled holes. The interior components are designed to be tool-assembled with the included allen key.
Finally, connect the power cable from the floor module to your wall outlet. The ventilation system activates automatically. Switch on the interior lighting and close the door to test the acoustic seal.
Relocation: Moving Your Office Pod
One of the most underappreciated advantages of a modular office pod is that it can move with your business. Whether you are reconfiguring your current floor plan or relocating to a new office, here is what you need to know.
Disassembly
Disassembly follows the assembly steps in reverse order. Each module disconnects from its neighbors without damage to the acoustic seals. Because the seals are compression-based (factory-molded into the panel edges), they are not consumed or destroyed during the connection process. A joint that has been connected and disconnected multiple times maintains the same seal quality as a brand-new joint.
Transport
Flat-pack the modules back into their original packaging (or equivalent protective wrapping). The individual panels are small enough to fit through standard doorways and elevators. No special freight equipment is needed for moves within the same building. For moves between buildings, standard moving vans are sufficient.
Reassembly
Reassembly is identical to the original installation. Same ~4 hour timeline, same two-person crew, same result. There is no acoustic degradation — the pod will perform to its original certified specifications.
When Relocation Matters Most
- Leased office spaces: Take your pods with you when your lease ends.
- Growing teams: Move pods between floors as team sizes change.
- Event spaces: Set up temporary quiet zones for conferences, then break them down.
- Hybrid offices: Reconfigure pod layouts as in-office attendance patterns shift.
SoundBox Models and Assembly Specs
| Model | Dimensions (approx.) | Weight Estimate | Assembly Time | People Needed | Price (USD) |
|---|---|---|---|---|---|
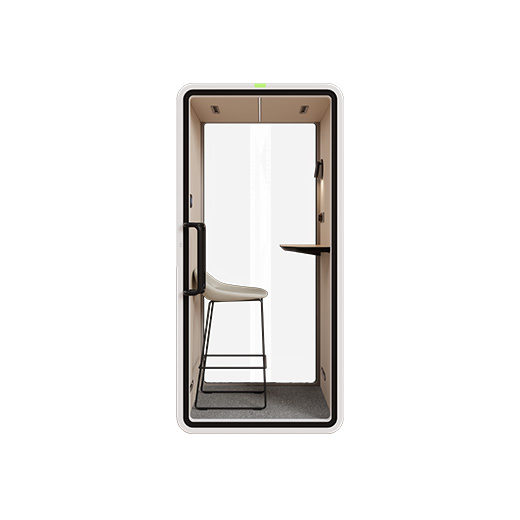
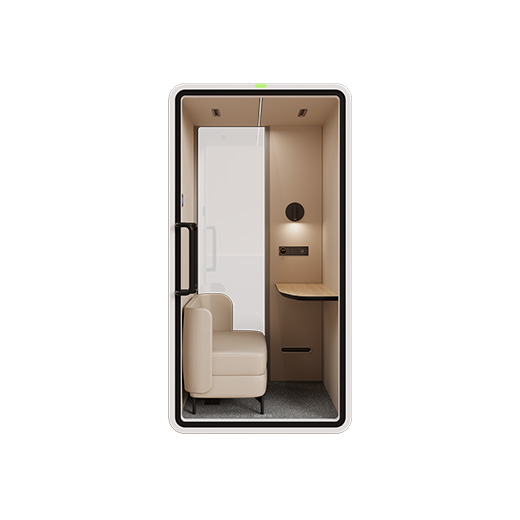
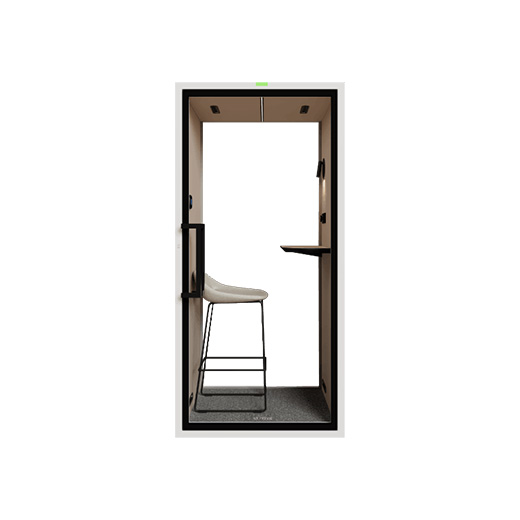
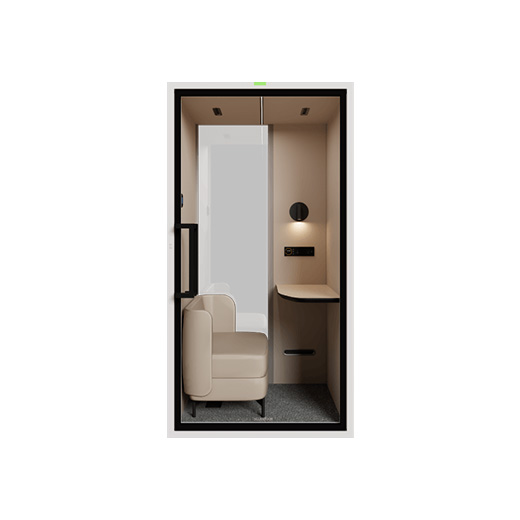
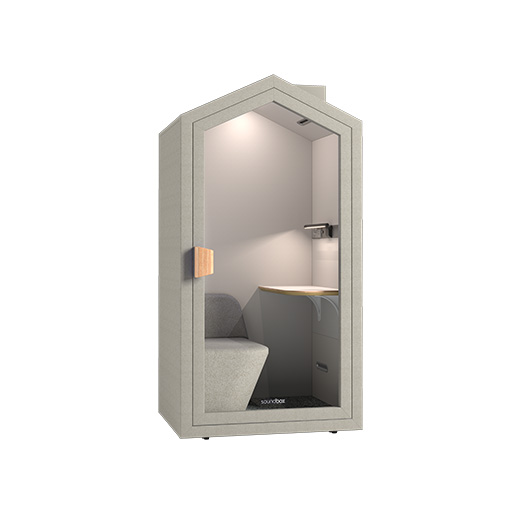
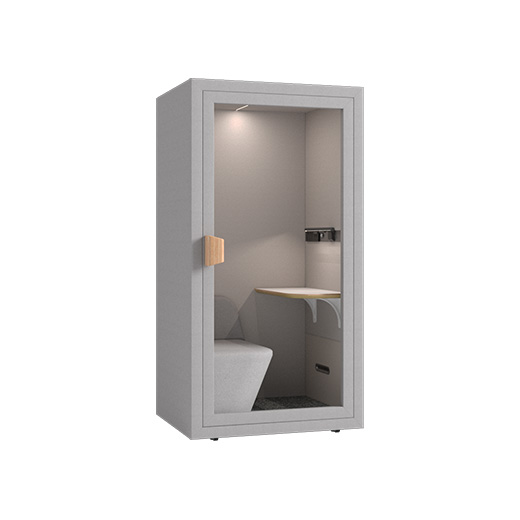
| ART S (1-person) | 1.0 x 1.0 x 2.2 m | ~180 kg | ~3 hours | 2 | $8,032 |
| VRT S (1-person) | 1.0 x 1.0 x 2.2 m | ~200 kg | ~3 hours | 2 | $10,091 |
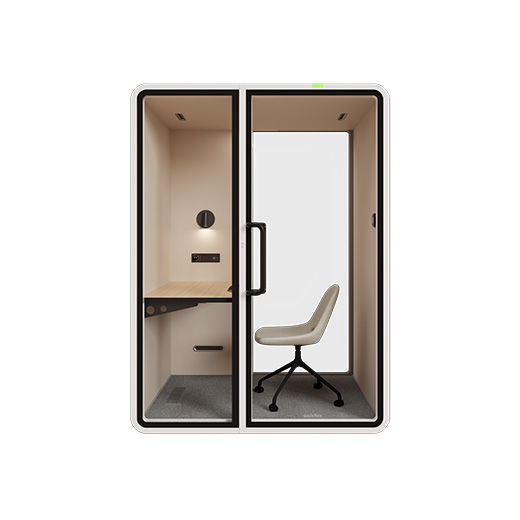
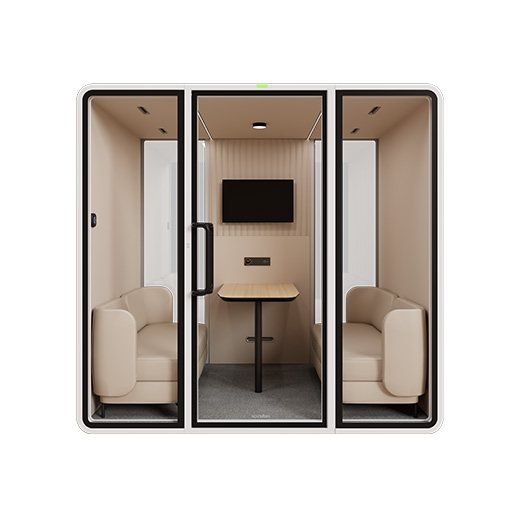
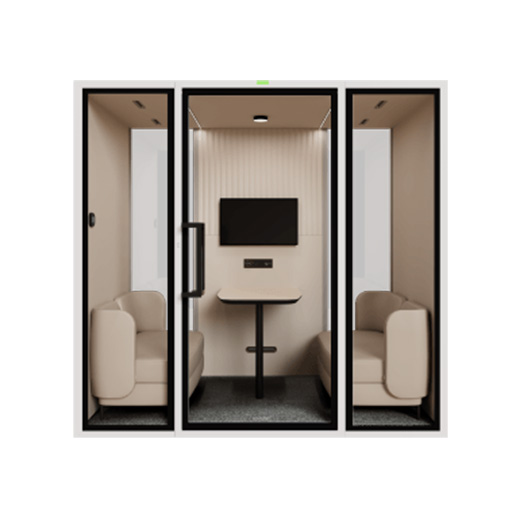
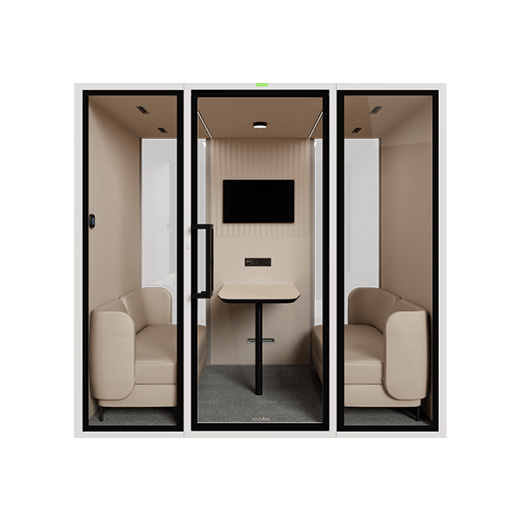
| ART L (4-person) | 2.0 x 1.5 x 2.2 m | ~320 kg | ~4 hours | 2 | $15,240 |
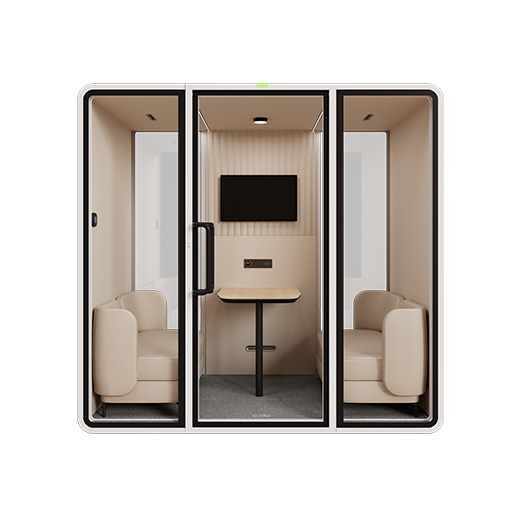
| VRT L (4-6 person) | 2.2 x 1.7 x 2.3 m | ~380 kg | ~4.5 hours | 2-3 | $18,329 |
Assembly notes:
- All models use the same 6-module flat-pack system
- No model requires professional installers or specialized equipment
- Assembly time estimates assume two people with no prior experience (first-time assembly; subsequent assemblies are typically 30% faster)
- Weight estimates are for the fully assembled unit; individual modules weigh significantly less
Frequently Asked Questions
Do I need a building permit to install an office pod?
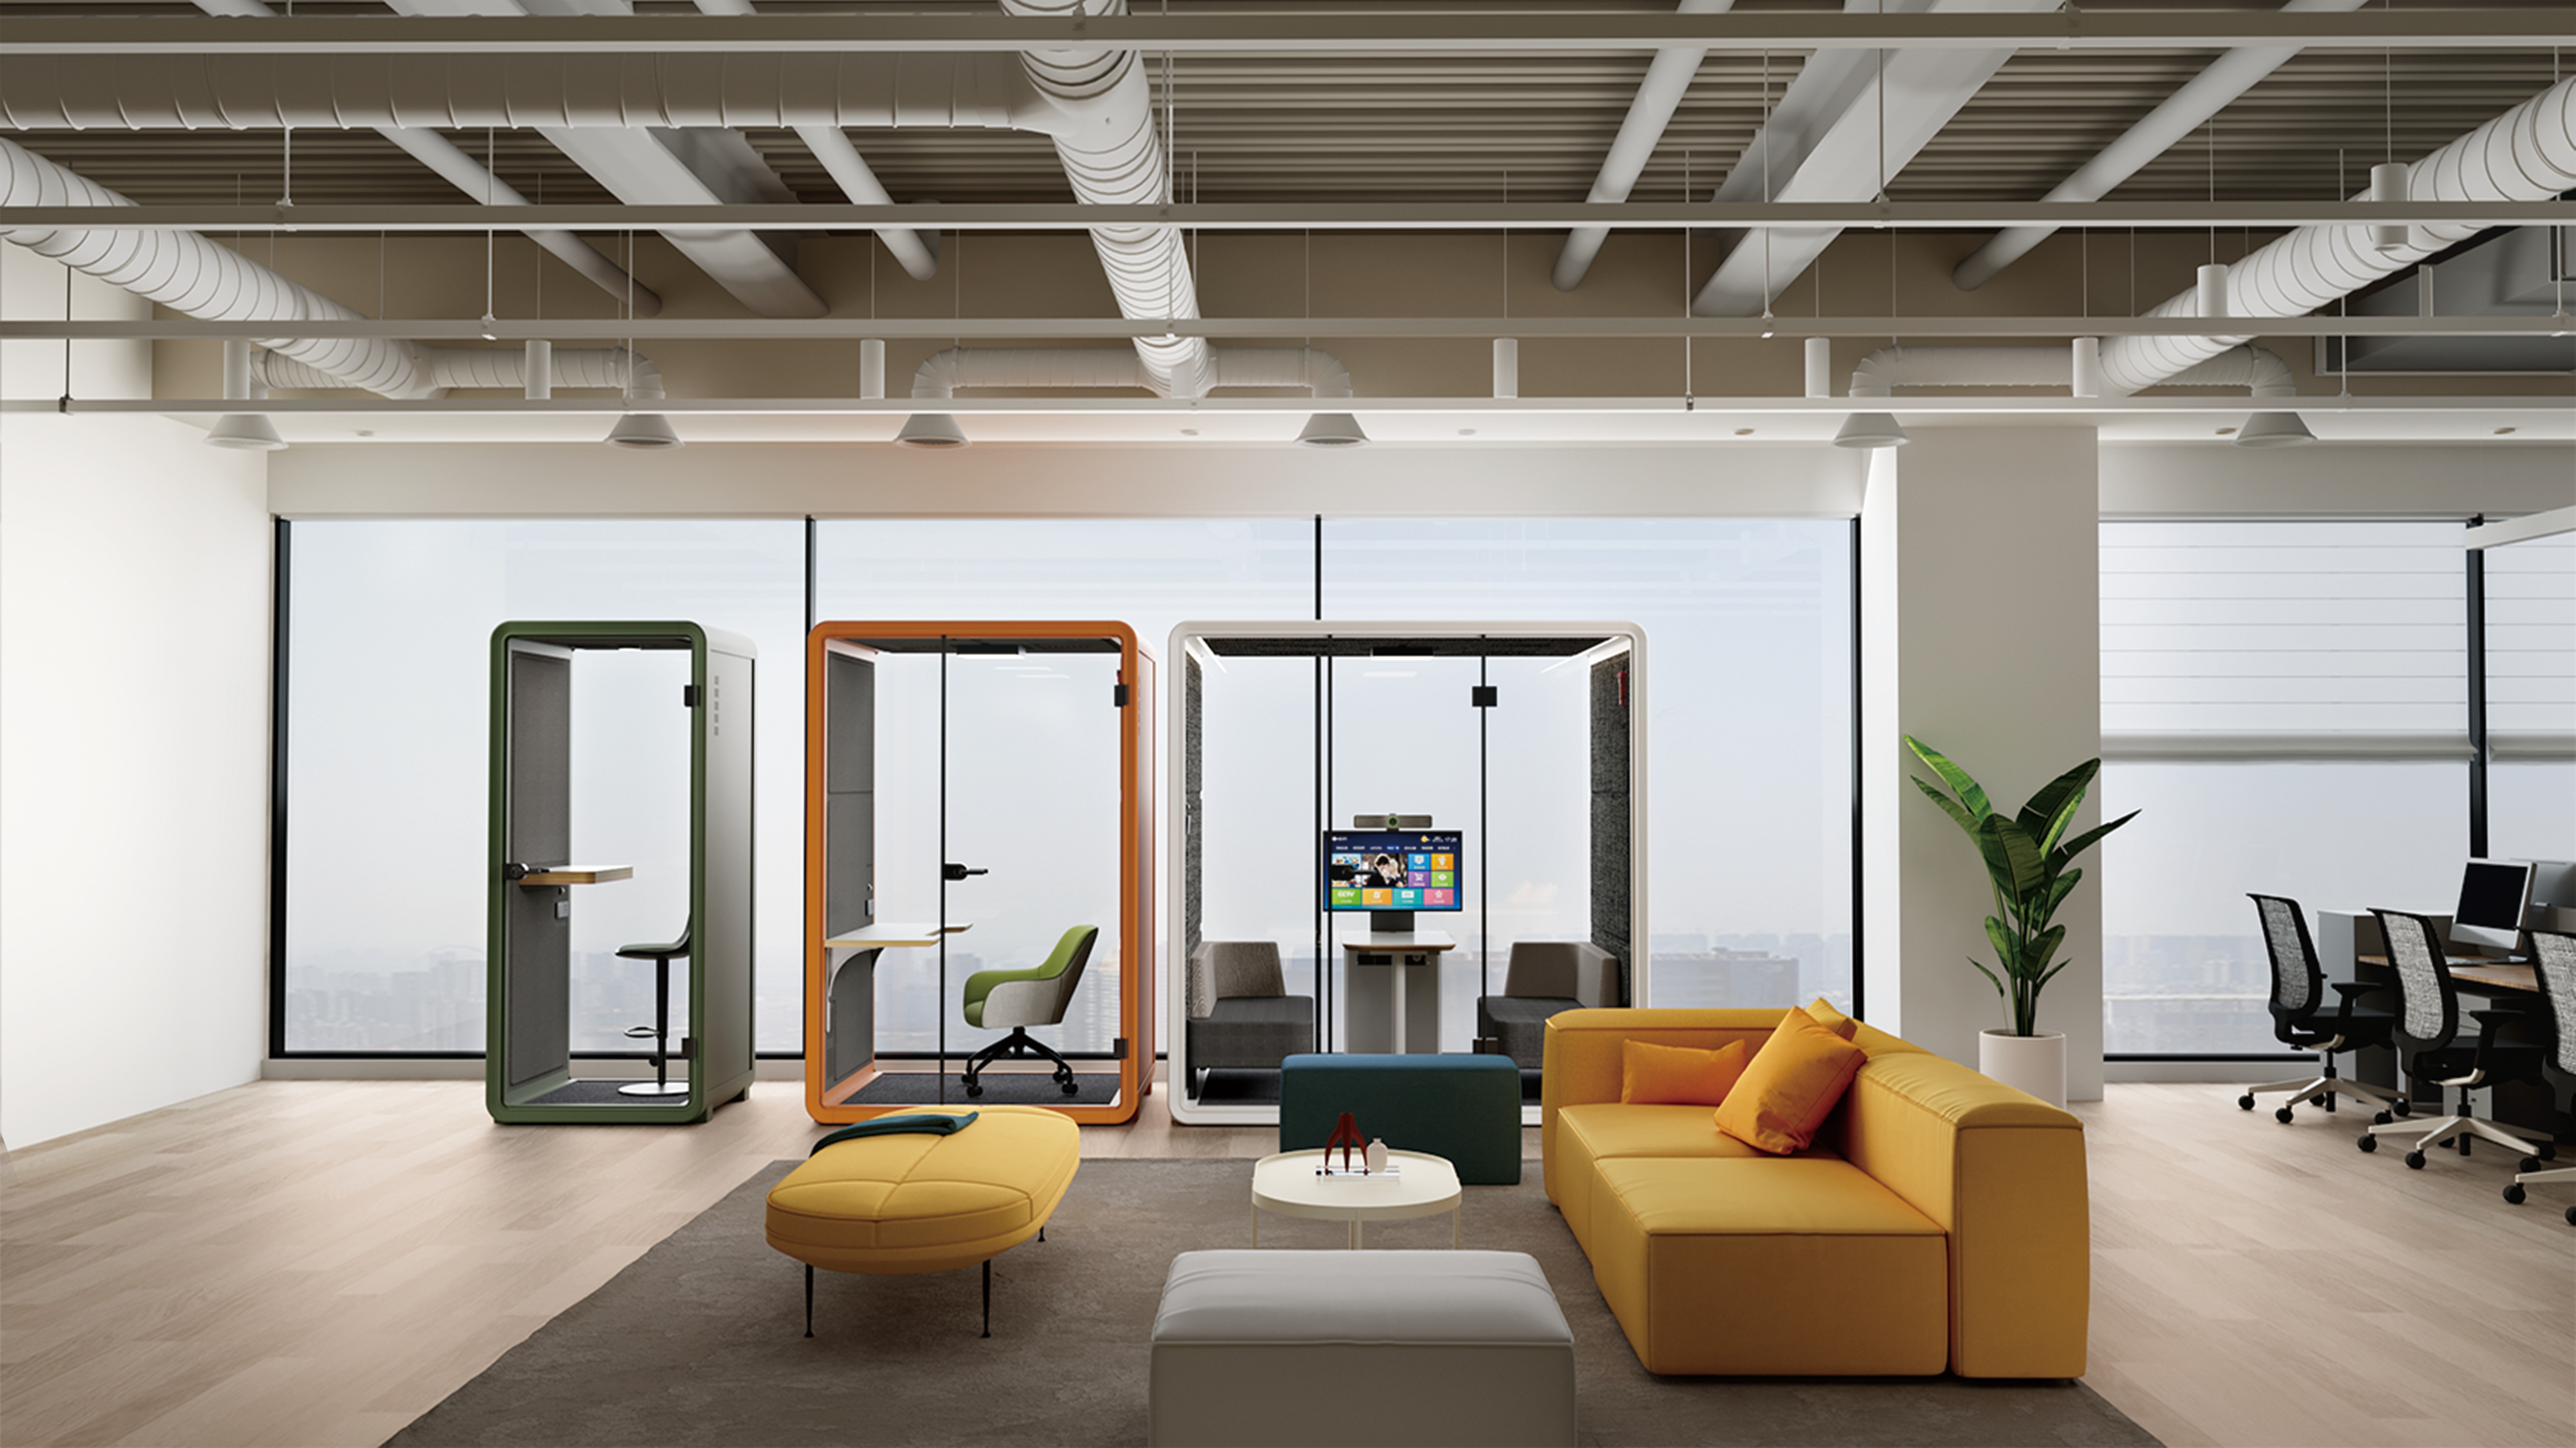
In most jurisdictions, freestanding office pods that are not permanently attached to the building structure do not require building permits. SoundBox pods are classified as furniture, not construction. However, regulations vary by city, building type, and lease terms. Check with your facilities manager or local building authority before installation.
What tools do I need for assembly?
SoundBox pods include all necessary tools in the hardware pack — typically an allen key and a few basic fasteners. You do not need power drills, saws, adhesives, or any specialized construction equipment. A spirit level is helpful for confirming the base is flat, but the leveling feet accommodate minor floor unevenness.
Can I install an office pod on a raised floor?
Yes. SoundBox pods are freestanding and distribute their weight across the floor base module. Standard commercial raised floors (with appropriate load rating) can support all SoundBox models. For the larger models (ART L, VRT L), verify that your raised floor panels can handle the point load at the leveling feet positions.
How long does assembly actually take?
For two people with no prior experience, the full assembly takes approximately 4 hours for standard models and up to 4.5 hours for the largest models. First-time assembly is the slowest — subsequent assemblies are typically 30% faster as the process becomes familiar.
Can the pod be disassembled and moved without losing acoustic performance?
Yes. This is a core design advantage of SoundBox’s modular system. Acoustic seals are factory-molded into the panel edges — they are compression seals, not field-applied caulk or adhesive. When panels are disconnected and reconnected, the seals perform identically to the original installation. The pod will meet its certified acoustic specifications (ISO 23351-1 Class A) after reassembly.
What if my floor is not perfectly level?
The floor base module includes adjustable leveling feet that compensate for up to 3 mm of floor unevenness across the pod footprint. For floors with more significant irregularities, shims can be used under the leveling feet. If the floor has more than 5 mm variance, consider choosing a different location or using a thin leveling pad.
Does installation require access to the building’s HVAC system?
No. SoundBox pods have an integrated ventilation system (Panasonic maze airflow design) that operates independently from the building’s HVAC. The only building connection required is a standard electrical outlet for power.
Conclusion: Install Today, Use Tomorrow
Office pod installation does not have to be a construction project. With SoundBox’s modular flat-pack system, the process is closer to assembling high-end furniture than building a room — and the result is a certified, commercial-grade acoustic enclosure that performs to lab-tested standards.
The key takeaways:
- Plan your site. Power, clearance, and floor levelness are the three variables that determine a smooth installation.
- Allocate half a day. Two people, approximately 4 hours, no contractors. Most teams complete assembly in a single afternoon.
- Expect flexibility. Because acoustic seals are built into the factory panel joints, your pod can be disassembled and relocated without any performance loss. It is an investment that moves with your business.
With 17 years of acoustic engineering expertise, 200+ patents, and a product lineup spanning 20+ models from 1-person phone booths to 6-person meeting pods, SOUNDBOX INC. designs every pod with installation simplicity as a core requirement — not an afterthought.
Ready to plan your office pod installation?