Acoustics & Office Acoustic Panels: Performance, Testing & Retrofit Options
Acoustics are the core reason many organizations install modular office booths. Modular office booths provide an enclosed, controlled acoustic environment that reduces speech transmission and improves user concentration; office acoustic panels reduce reverberation and ambient sound across a workspace. Understanding the right metrics, realistic in-situ testing methods, and retrofit strategies lets facilities teams specify solutions that meet user expectations without unnecessary construction.
This guide is written for workplace and facilities managers who need practical, non-theoretical advice: how to read acoustic specs, what “good” looks like in the field, and which low-disruption upgrades actually move the needle on speech privacy and comfort.
On this page:
Key metrics | Typical performance | Booths & panels | In-situ testing | Step-by-step test | Acceptance criteria | Field pitfalls | Retrofit strategies | Vendor requests | Recommendations | Checklist
Key acoustic metrics explained (what to ask for and why they matter)
Most acoustic spec sheets are written for engineers, not facilities teams. If you only track one thing, track how much easier it becomes to hold a normal conversation without being overheard or distracted. The metrics below are simply different ways to quantify that experience so you can compare products and defend your budget.
- STC (Sound Transmission Class): A single-number rating of how well a partition attenuates airborne sound across a range of frequencies. STC is measured in laboratory conditions (ASTM E90) and is useful for comparing products. Practical takeaway: higher STC = less sound leaking through walls and doors, especially in the mid-frequency band where human speech lives. For modular booths, vendors will often provide lab STC or “insertion loss” figures – request both lab data and field measurements, and ask what part of the booth assembly was actually tested (full booth, wall panel, or door only).
- NRC (Noise Reduction Coefficient): The average sound absorption of a material (0–1.0). Acoustic panels and ceiling clouds report NRC to indicate how much reverberation they reduce. Use NRC to size absorptive treatments around booths: typical quality panels range 0.6–1.0. A panel with NRC 0.8 absorbs roughly 80% of the incident sound energy at the tested frequencies; using enough surface area of high-NRC material is far more important than obsessing over the difference between 0.80 and 0.85.
- RT60 (Reverberation Time): Time it takes sound to decay 60 dB in a space. Shorter RT60 inside and near booths improves speech clarity and perceived privacy. ISO 3382 and related local standards describe measurement procedure, but you do not need to become an acoustician. If claps or short noises “ring” in a space, RT60 is likely too long. Booths and panels help bring RT60 down into a comfortable range so speech sounds clearer and “dryer.”
- STI / Speech Privacy Index / Privacy Metrics: Measures of speech intelligibility and privacy. STI (IEC 60268-16) and privacy indices quantify how intelligible speech is outside an enclosure – directly tied to perceived confidentiality. A low STI outside the booth means unintended listeners cannot clearly understand the conversation. For high-sensitivity rooms (HR, legal, executive calls), vendors or acousticians can provide STI/PI calculations to show that the design meets your privacy targets.
- Insertion loss (dB reduction): A practical field metric – how many decibels of sound are reduced when the booth is in place vs. baseline. Facilities teams can use insertion loss at key mid-frequencies (500–2000 Hz) as an acceptance check. It is simple to explain to stakeholders: “We achieved ~22 dB reduction at speech frequencies between inside and outside of the booth.” Over time, you can build a small library of these results and use them when selecting future vendors.
Quick rule of thumb: how decibels feel
- +3 dB ≈ barely noticeable increase.
- +5 dB ≈ clearly noticeable difference.
- +10 dB ≈ perceived as roughly twice as loud.
- So a 20 dB insertion loss means outside listeners hear speech at roughly 1/4 the loudness – usually enough to make content difficult to follow in a busy office.
Typical performance ranges (what to expect)
Understanding typical performance ranges keeps expectations realistic. Many marketing claims describe “soundproof” booths, but even very good systems reduce, not eliminate, audibility. Your goal is usually speech privacy and reduced distraction, not absolute silence.
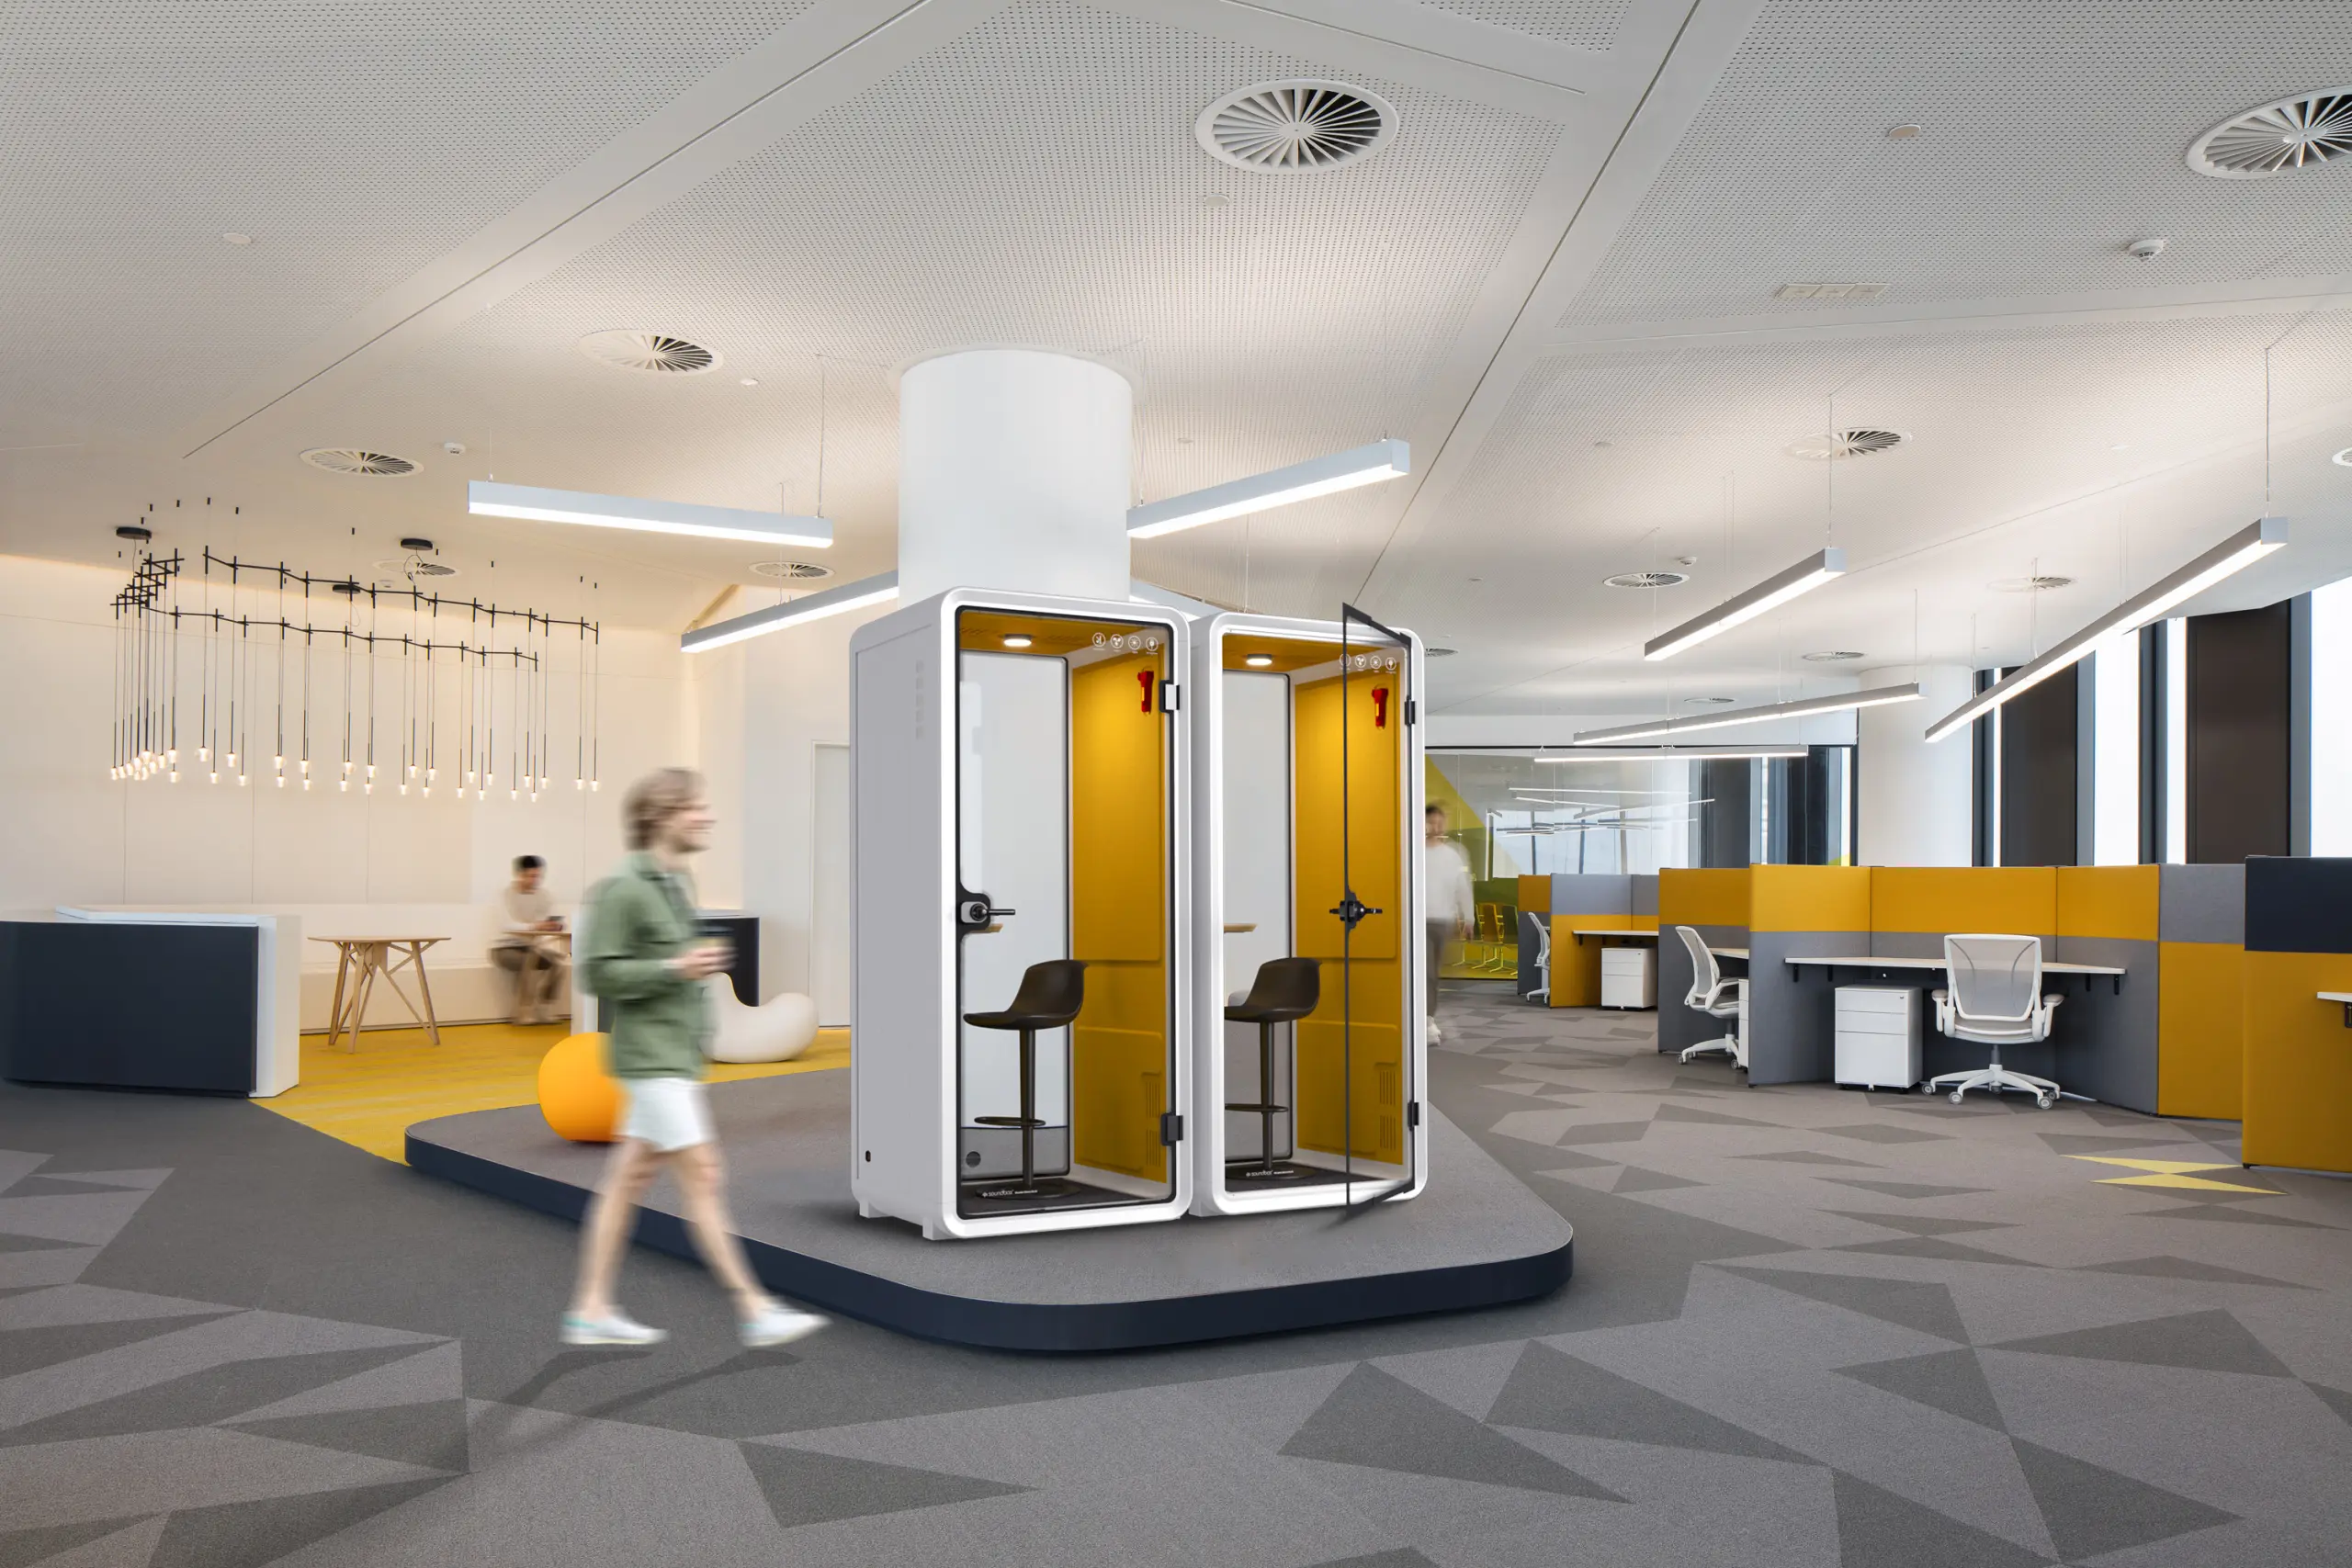
- Modular office booths (single-person): Many manufacturers report insertion loss in the 15–25 dB range across speech frequencies. Reported lab STC values vary widely depending on glazing type, frame stiffness, door seals, and HVAC penetrations. A high-performing single-person booth will allow users to speak at a normal level inside while people just outside hear only a muffled hum of conversation. If you can clearly follow every word from outside, either the product or its installation has an issue.
- Larger meeting pods: Two- to four-person pods often deliver greater attenuation (sometimes 20–35 dB insertion loss) because of heavier panels and more comprehensive seals. However, they also have more penetrations for sprinklers, HVAC, and cabling, which can become flanking paths if not treated correctly. Expect better privacy than an open meeting room with glass walls, but not the same performance as a built-in broadcast studio.
- Office acoustic panels: NRC 0.6–1.0 (good absorbers). Panels do not provide speech privacy by themselves – people can still see and hear each other around them – but panels significantly reduce background noise and reverberation, which improves the effectiveness of booths. In practice, well-placed panels lower the general “roar” in open areas so that quieter, muffled speech leaking from booths blends into the background.
| Element | Primary job | Typical performance target |
|---|---|---|
| Single-person booth | 1:1 calls, focus work | 15–25 dB insertion loss, RT60 < 0.6 s |
| 2–4 person pod | Small meetings, hybrid calls | 20–30 dB insertion loss, RT60 < 0.7 s |
| Wall / ceiling panels | Control reverberation, reduce “roar” | NRC 0.6–1.0 with sufficient surface area coverage |
How modular booths and office acoustic panels work together
Booths and panels are often specified separately – one handled by furniture, the other by an architect or AV vendor. But your users experience them as a single acoustic system. Thinking about their roles together leads to better layouts and fewer complaints.
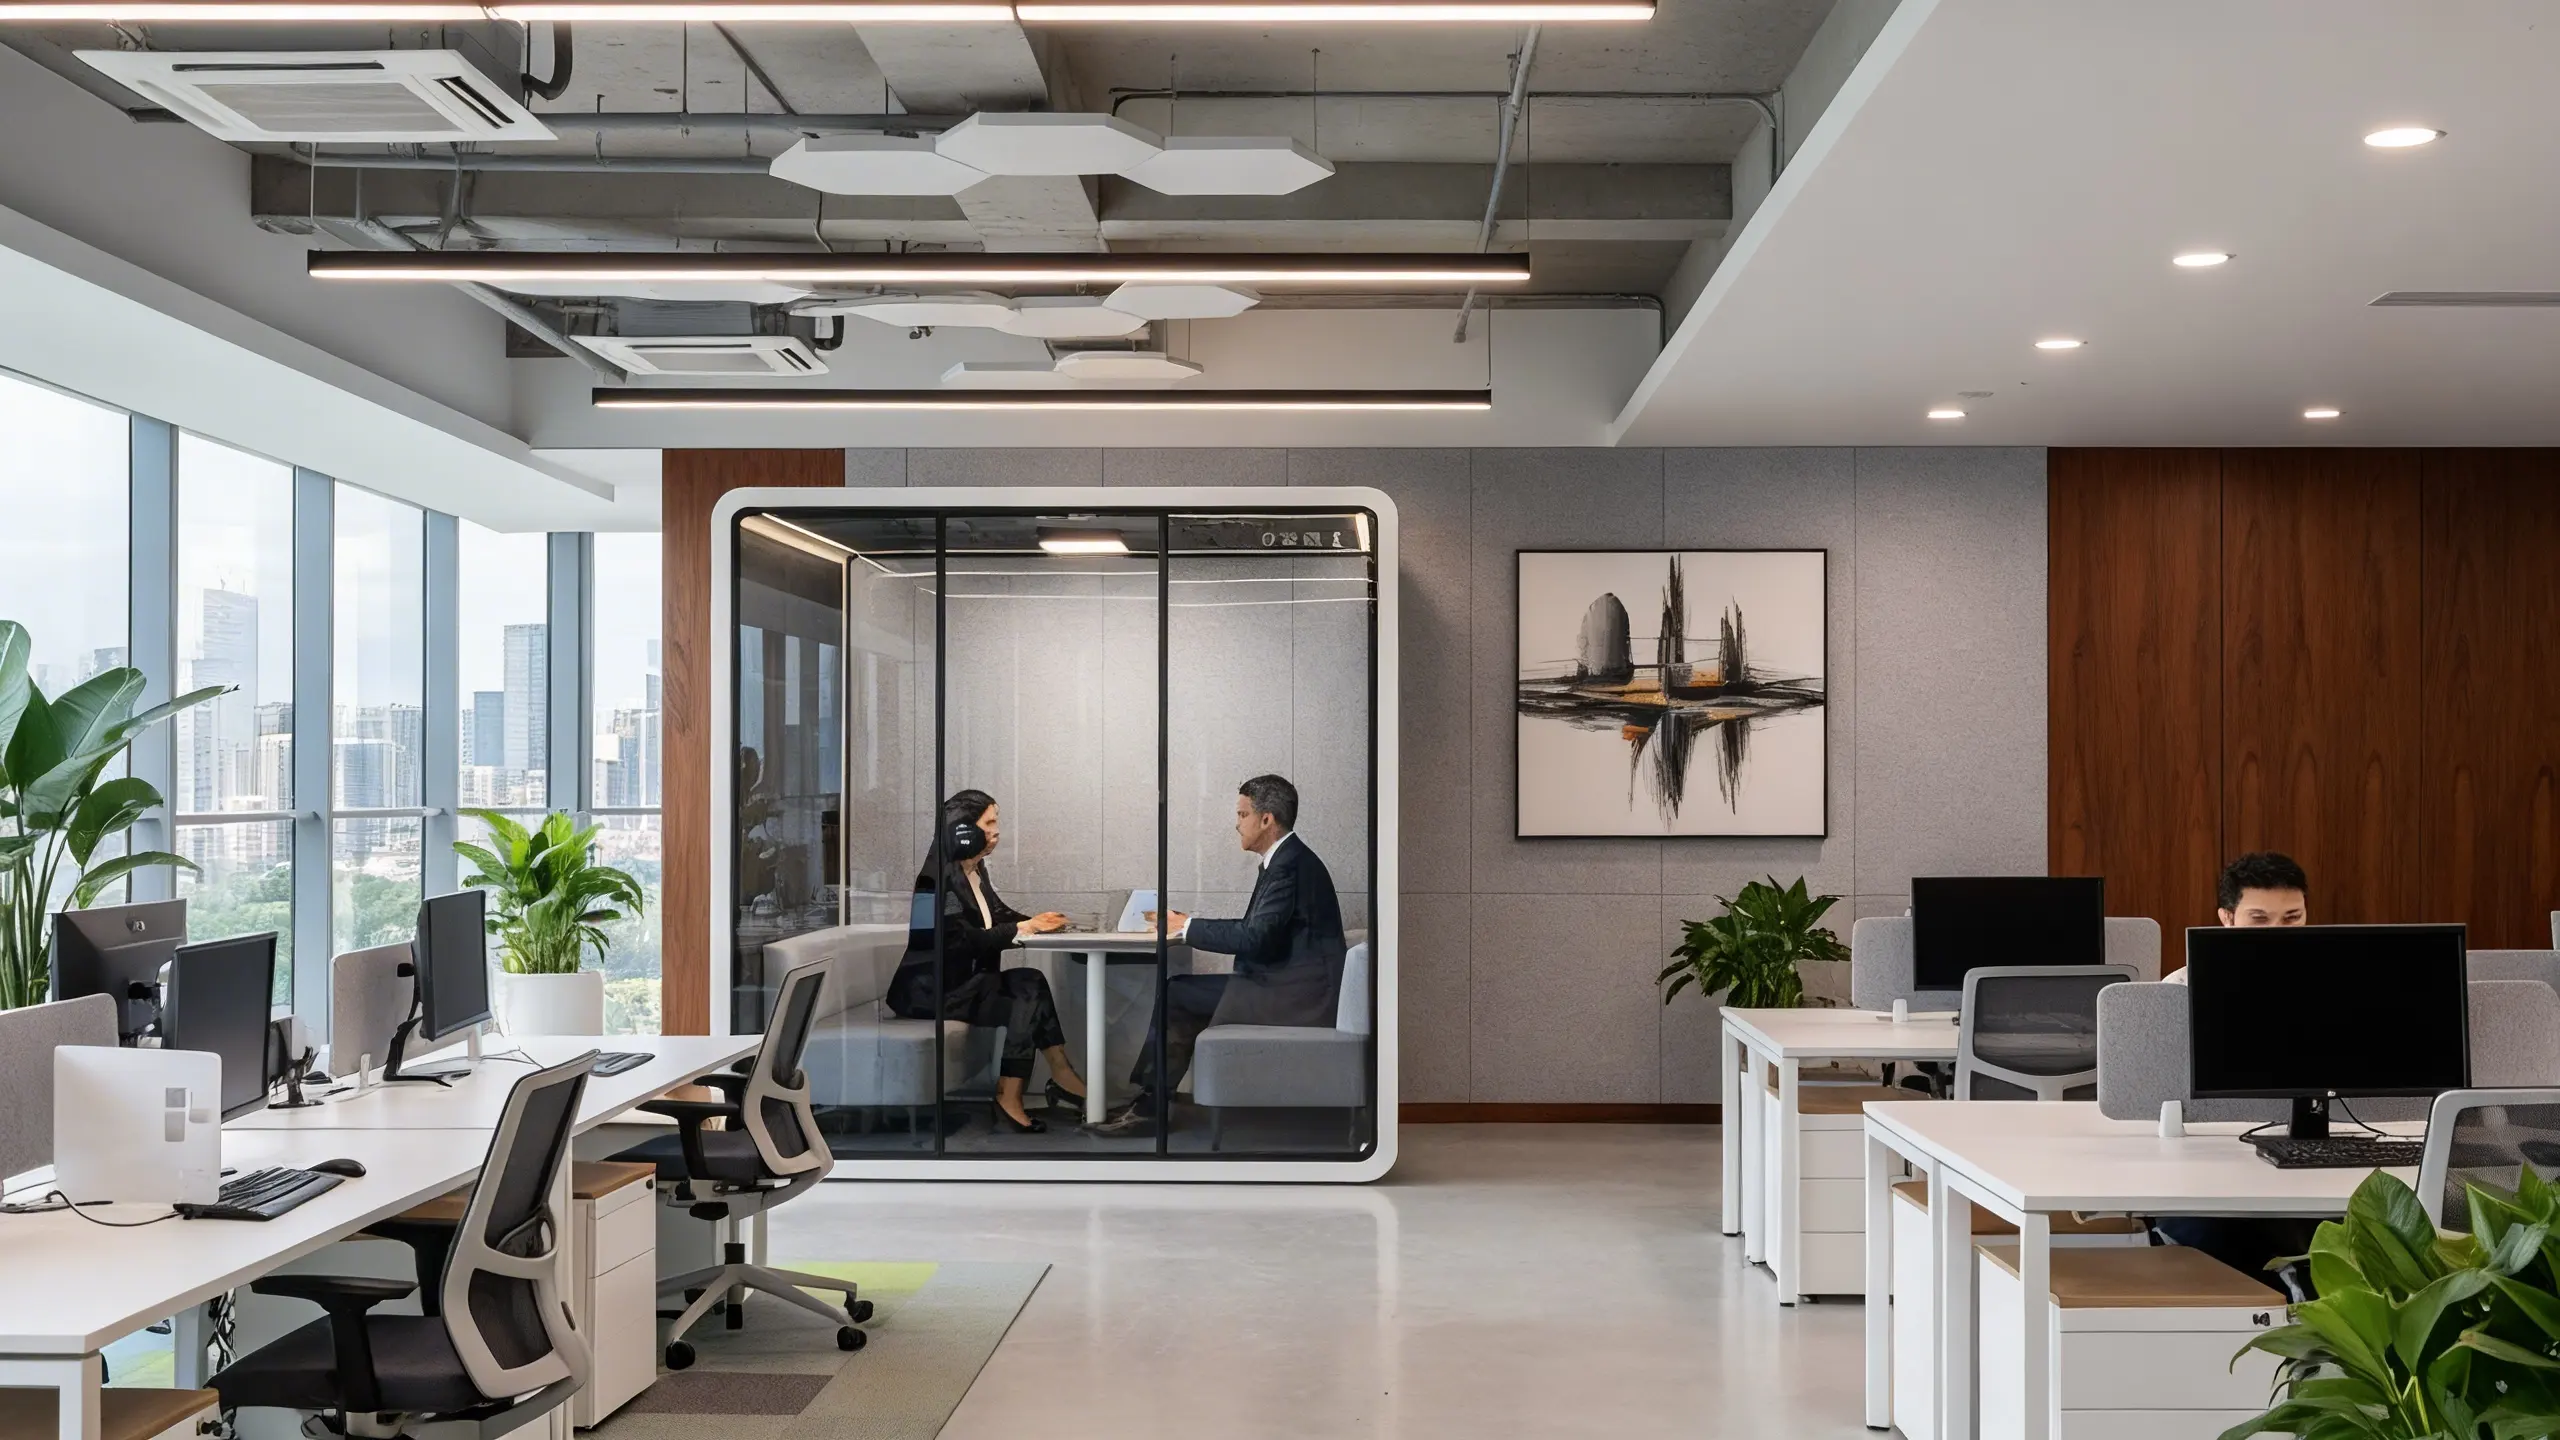
- Complementary roles: Office acoustic panels reduce room reverberation and lower background SPL, which reduces the sound energy that reaches the exterior of a booth. Booths provide enclosure and speech privacy. Combined, you get better perceived privacy and reduced “bleed” into adjacent workstations. Without panels, even a good booth can “leak” into a hard, reflective space and feel under-whelming.
- Strategic placement: Surround booth banks with ceiling clouds and wall panels to cut reflected sound and minimize hard surfaces that amplify leakage. Panels are especially effective in narrow corridors or perimeter zones where booths abut open space. A practical rule: aim for at least two large absorptive surfaces “seeing” the booth entrances – for example, one wall area plus one ceiling area.
- Privacy pods for office: These hybrids (soft-seated pods, semi-open lounges) offer improved visual separation and some absorption, but generally provide less sound isolation than enclosed modular booths. Use pods for informal, low-privacy needs like quick 1:1s or individual focus sessions. Use full booths where confidentiality matters (HR, performance reviews, finance, legal, healthcare conversations).
Example layout: In a 40-desk open area, you might group 3–4 single-person booths near the core circulation path, add ceiling clouds above that zone, install a run of wall panels opposite the booth doors, and place a small privacy pod nearby for ad-hoc collaboration. The combination reduces overall noise, keeps confidential calls contained, and offers options for different work styles.
Practical in-situ testing methods facilities teams can run
Equipment to use
You do not need a full acoustics lab to verify whether your booths and panels are performing as promised. With a modest kit and a repeatable process, you can generate data that is “good enough” to compare locations, vendors, and installation quality.
- Class 2 sound level meter (SLM) or hire an acoustical consultant with Class 1 equipment. A mid-range, calibrated SLM is often sufficient for internal benchmarking and vendor acceptance.
- Portable pink noise or calibrated speech playback source (speaker). This simulates a talker inside the booth with consistent output level from test to test.
- Microphones for multiple measurement locations (inside booth, 1 m outside door, 2 m outside, adjacent workstations). Mark these positions on a floor plan so you can replicate them after any changes.
- Optional: STI measurement kit or software, RT60 measurement tool. These are helpful for critical installations or when you need to document performance for legal or contractual reasons.
Step-by-step baseline and post-install test
- Document conditions: Record date/time, occupancy level, HVAC state (on/off and fan speed), window position, and test positions. Whenever possible, test during representative busy and quiet periods. This creates context when comparing future results.
- Baseline measurements: Measure background A-weighted SPL (dBA) at the intended booth location and at nearby workstations without the booth (or before install). Take at least 30–60 seconds of data at each position. This is your “before” picture.
- Install the booth and panels: Ensure all seals, doors, and ventilation connections are complete. Confirm that panels are installed in their intended positions before running the post-install test.
- Insertion loss test: Place the calibrated speaker inside the booth playing pink noise at a consistent SPL (for example, 70 dBA at the user’s ear position). Measure SPL at standardized positions outside the booth and inside. Calculate reduction (dB) at octave bands and averaged across 500–2000 Hz for speech band performance. This value is your practical “in-office” attenuation.
- Speech intelligibility test: Perform STI measurements or use recorded conversational speech inside and measure outside. Users should struggle to discern content at normal listening levels in the open office. Low STI values (e.g., <0.20) outside the booth correspond to higher privacy.
- RT60 check: For larger pods or adjacent rooms, measure reverberation time before and after installing absorptive panels. Even basic RT apps, when used consistently, help you see improvement trends.
- Report and archive: Summarize results in a simple one-page report: background levels, insertion loss values, STI or qualitative speech privacy notes, and photos or diagrams of measurement locations. Archive this with your fit-out documents so future projects can reuse the methodology.
Tip: Run at least one test with real people using the booth as they would in daily work (video calls, hybrid meetings). Ask them and nearby colleagues to rate privacy and comfort on a simple 1–5 scale. Combining user feedback with measurements gives a more complete picture.
Simple acceptance criteria (examples to use as starting points)
The goal of acceptance criteria is not perfection – it is clarity. Clear pass/fail thresholds protect your organization when comparing bids and help installers understand what “done” looks like.
- Small phone booth: ≥15 dB insertion loss across 500–2000 Hz and background inside <35 dBA during normal office operation. Users should be able to take calls at conversational levels without feeling they must whisper.
- 1–4 person meeting pod: ≥20–25 dB insertion loss (higher if confidential conversations are expected). People sitting just outside the pod should hear muffled speech, not clear sentences, when doors are closed.
- Reverberation inside booth: RT60 <0.6 s (target depends on booth volume and use). Shorter RT60 improves clarity for both local talkers and remote participants on calls, reducing the “echoey phone booth” effect.
- Adjacent area comfort: In open workstations within a few meters of booths, aim for background levels that remain within your company’s comfort target (often 40–50 dBA) even when one or two booths are occupied.
- User perception: 80%+ of surveyed users rate booth privacy as “good” or “excellent” for their typical calls. If acoustic metrics look acceptable but user sentiment is poor, revisit placement, masking levels, and interior finish choices.
Note: These are practical targets – always confirm with vendor performance claims and adjust for your organization’s privacy needs. Some industries (legal, healthcare, finance) may require higher thresholds or compliance with specific guidelines.
Common field pitfalls and how to avoid them
Even a high-quality booth can underperform if installed poorly or placed in the wrong context. Most “this booth is not soundproof” complaints trace back to a small set of recurring issues.
- Unsealed gaps and flanking paths: Sound often leaks under doors, through gaps where the booth meets the floor, via ceiling plenum, or through HVAC ducts. Inspect and seal thresholds, add acoustic gaskets, and use booth skirts when needed. If you can see light around the door or base, sound can escape there too.
- Ventilation tradeoffs: Connecting booths to building HVAC without silencers or lined ductwork can introduce noise or defeat isolation. Specify low-noise fans, duct silencers, and a sensible number of air changes per hour (4–8 ACH typical for small booths). An overly loud fan may mask conversation, but it also makes occupants uncomfortable on long calls.
- Testing under unrealistic conditions: Running tests with unusual HVAC settings, low occupancy, or open windows can skew results. Standardize and document test states and rerun tests under representative conditions. When reporting results to stakeholders, always state the conditions alongside the numbers.
- Overreliance on masking: Sound-masking systems can increase overall privacy in open areas, but they do not replace enclosures for confidential calls. Use masking to complement – not substitute – booths. If you rely solely on masking and low partitions, expect persistent complaints about focus and confidentiality.
- Ignoring surrounding finishes: Highly reflective floors, glass walls, or metal ceilings near booths can bounce whatever sound escapes the booth back into the open office. Simple carpet tiles, area rugs, or nearby wall panels often yield noticeable improvements.
- Poor user training: Users may leave doors slightly open for “air,” speak very loudly on calls, or treat booths as long-term offices. A short etiquette guide (“close the door fully, use normal speaking volume, limit calls to X minutes”) improves performance and availability without any hardware changes.
Low-cost retrofit strategies that avoid major construction
If booths are already installed, you may not have the appetite for major rebuilds. The good news: many acoustic improvements come from small interventions that are inexpensive, quick to deploy, and reversible.
- Door and threshold upgrades: Add acoustic door seals, magnetic gaskets, and floor sweeps to reduce low-frequency leaks. Confirm that latch mechanisms pull the door firmly into the seals – a soft latch that leaves gaps can undo much of the booth’s lab-tested performance.
- Booth skirting and perimeter sealing: Install factory or custom skirting to close under-clearance between booth base and floor. Use flexible sealants or pre-formed gaskets so the booth remains relocatable if your workplace layout changes.
- Local absorbers: Place ceiling clouds, wall panels, or baffles around the booth cluster to reduce reflected energy and improve perceived privacy. Even a few square meters of absorption in key reflection paths can make a measurable difference in how “contained” speech feels.
- HVAC attenuation: Fit inline silencers or acoustic lining to ventilation ductwork; select low-Sone fans and variable speed controls to reduce fan noise. This not only improves acoustics but also makes booths more comfortable for longer sessions.
- Mass loading and decoupling: Add dense linings or decoupled panels where structure-borne transfer is an issue (e.g., booths installed on lightweight raised floors). This usually requires vendor input but is still far less disruptive than rebuilding walls.
- Service and maintenance: Replace worn seals and door hardware, keep ventilation filters clean, and regularly check door alignment. Over years of use and relocation, small degradations can accumulate into noticeable performance loss.
Start with the highest ROI fixes: (1) seal gaps, (2) add local absorption, (3) tune HVAC noise. These three steps often resolve 70–80% of user complaints without touching the booth’s core structure.
What to request from vendors and consultants
The quality of information you receive from vendors directly affects your ability to make good decisions. Aim to standardize what you ask for so bids can be compared on a like-for-like basis.
- Third-party lab STC tests (ASTM E90) and field (in-situ) insertion loss reports from comparable installations. Ask vendors to clearly state whether doors, glazing, and penetrations were included, and whether the test sample matches the exact configuration you are buying.
- STI/PI calculations or STI measurement results for locations with confidentiality needs. Request assumptions used in the models (background noise, talker levels, masking system settings) so you can judge whether they match your environment.
- CAD/BIM files showing HVAC penetrations and cable routes to plan sealed penetrations. Sharing these with your MEP engineers early prevents last-minute improvisations that compromise acoustics.
- Recommended acceptance test protocol and warranty terms covering acoustic performance. Ideally, the vendor provides a simple field test you can perform upon installation, with clear thresholds that trigger remediation or adjustment at their cost.
- Maintenance and relocation guidance: Ask how often seals should be replaced, what happens to performance after multiple moves, and whether the vendor offers re-certification tests after relocation.
Final recommendations
Acoustic performance is not just a product spec; it is a system outcome. The booths, panels, HVAC, and surrounding finishes all interact – and user behavior ties it together. A few guiding principles help keep projects on track.
- Test before you scale: Combine measured vendor data with a small pilot and on-site verification. A pilot lets you validate manufacturer claims in your own environment and refine placement and retrofit measures (panels, sealing, HVAC) before committing to a large rollout.
- Create simple, repeatable tests: Use a straightforward protocol (pink noise insertion loss + STI or intelligibility check) to create objective acceptance criteria for procurement and installation. Make it easy for your team to rerun the same test a year later.
- Design a system, not isolated products: Treat office acoustic panels and modular office booths as a system. Panels lower the room noise floor while booths provide the enclosed privacy users need. Placement, finishes, and etiquette matter just as much as the product’s datasheet.
- Align with HR, IT, and leadership: When people complain about noise, it often shows up as HR feedback (“hard to focus”), IT issues (“bad call quality”), or leadership concerns (“we just spent a lot on this renovation”). Involving these stakeholders early makes it easier to prioritize acoustic improvements.
Quick checklist (for your test/spec pack)
- Obtain vendor STC, NRC, and in-situ test reports for the exact configurations you are buying.
- Plan baseline noise and RT60 measurements before installation, and keep floor plans with marked mic positions.
- Define acceptance criteria in dB and STI targets that reflect your privacy needs and industry regulations.
- Specify door seals, skirting, HVAC silencers, and local acoustic panels directly in the purchase order or design brief.
- Schedule a pilot install + verification test before full rollout; adjust layout or product mix based on real data.
- Document a short “booth etiquette” guideline and share it with employees at launch.